![Crochet 101 [Part 1]](https://cdn11.bigcommerce.com/s-ih46jrcxhu/images/stencil/1193x795/uploaded_images/learn-to-crochet-collage.png?t=1677611556 "Crochet 101 [Part 1]")
Crochet 101 [Part 1]
Crocheters! What else could possibly be more exciting than an excited beginner crocheter? If you're new to crochet, boy oh boy! We have so many goodies in store for you! If you're an experienced crocheter, I bet we can come up with a few tips and tricks that you might not know - CHALLENGE ACCEPTED!
For beginners, keep reading! We are going to be releasing a full range of learning techniques with Kristi Simpson starting TODAY! Let her guide you through holding your hook and yarn, creating a slip knot and crocheting a chain. This will get you on your way to learning the basics!
Experienced crocheters, stick around and find us on social media! Tips, tricks, LIVE videos and techniques are in store for you! We'll break down patterns, new stitches and even a fun crochet-a-long soon!
Crochet 101 with Kristi Simpson
Hi everyone! I'm Kristi and I am so excited to join you on this learning journey! I am an author, designer and teacher and I can't wait to help you learn to crochet! I must warn you first and foremost: it's addicting! I taught myself to crochet in 2008 and never stopped! One of my most favorite things is to teach others to crochet (and knit, macrame, craft...you name it!). When you WANT to learn, the sky's the limit! So, let's jump in.
First, you'll need a few supplies. As a beginner, I would recommend the following 2 items:
Crochet hook: H/8 - 5mm (the package will have it printed very clearly).
Medium weight yarn: look on the label and you'll see a number in a skein and it should be #4.

Cotton or acrylic would be a good starter yarn. Don't worry, we'll talk about yarn later!
As we begin, we're just talking crochet here. Not reading patterns or seaming...just crochet! We'll get to all of that!
How to hold your hook
You can hold the hook in whatever way feels most comfortable, but let me show you 2 different ways that most people use.
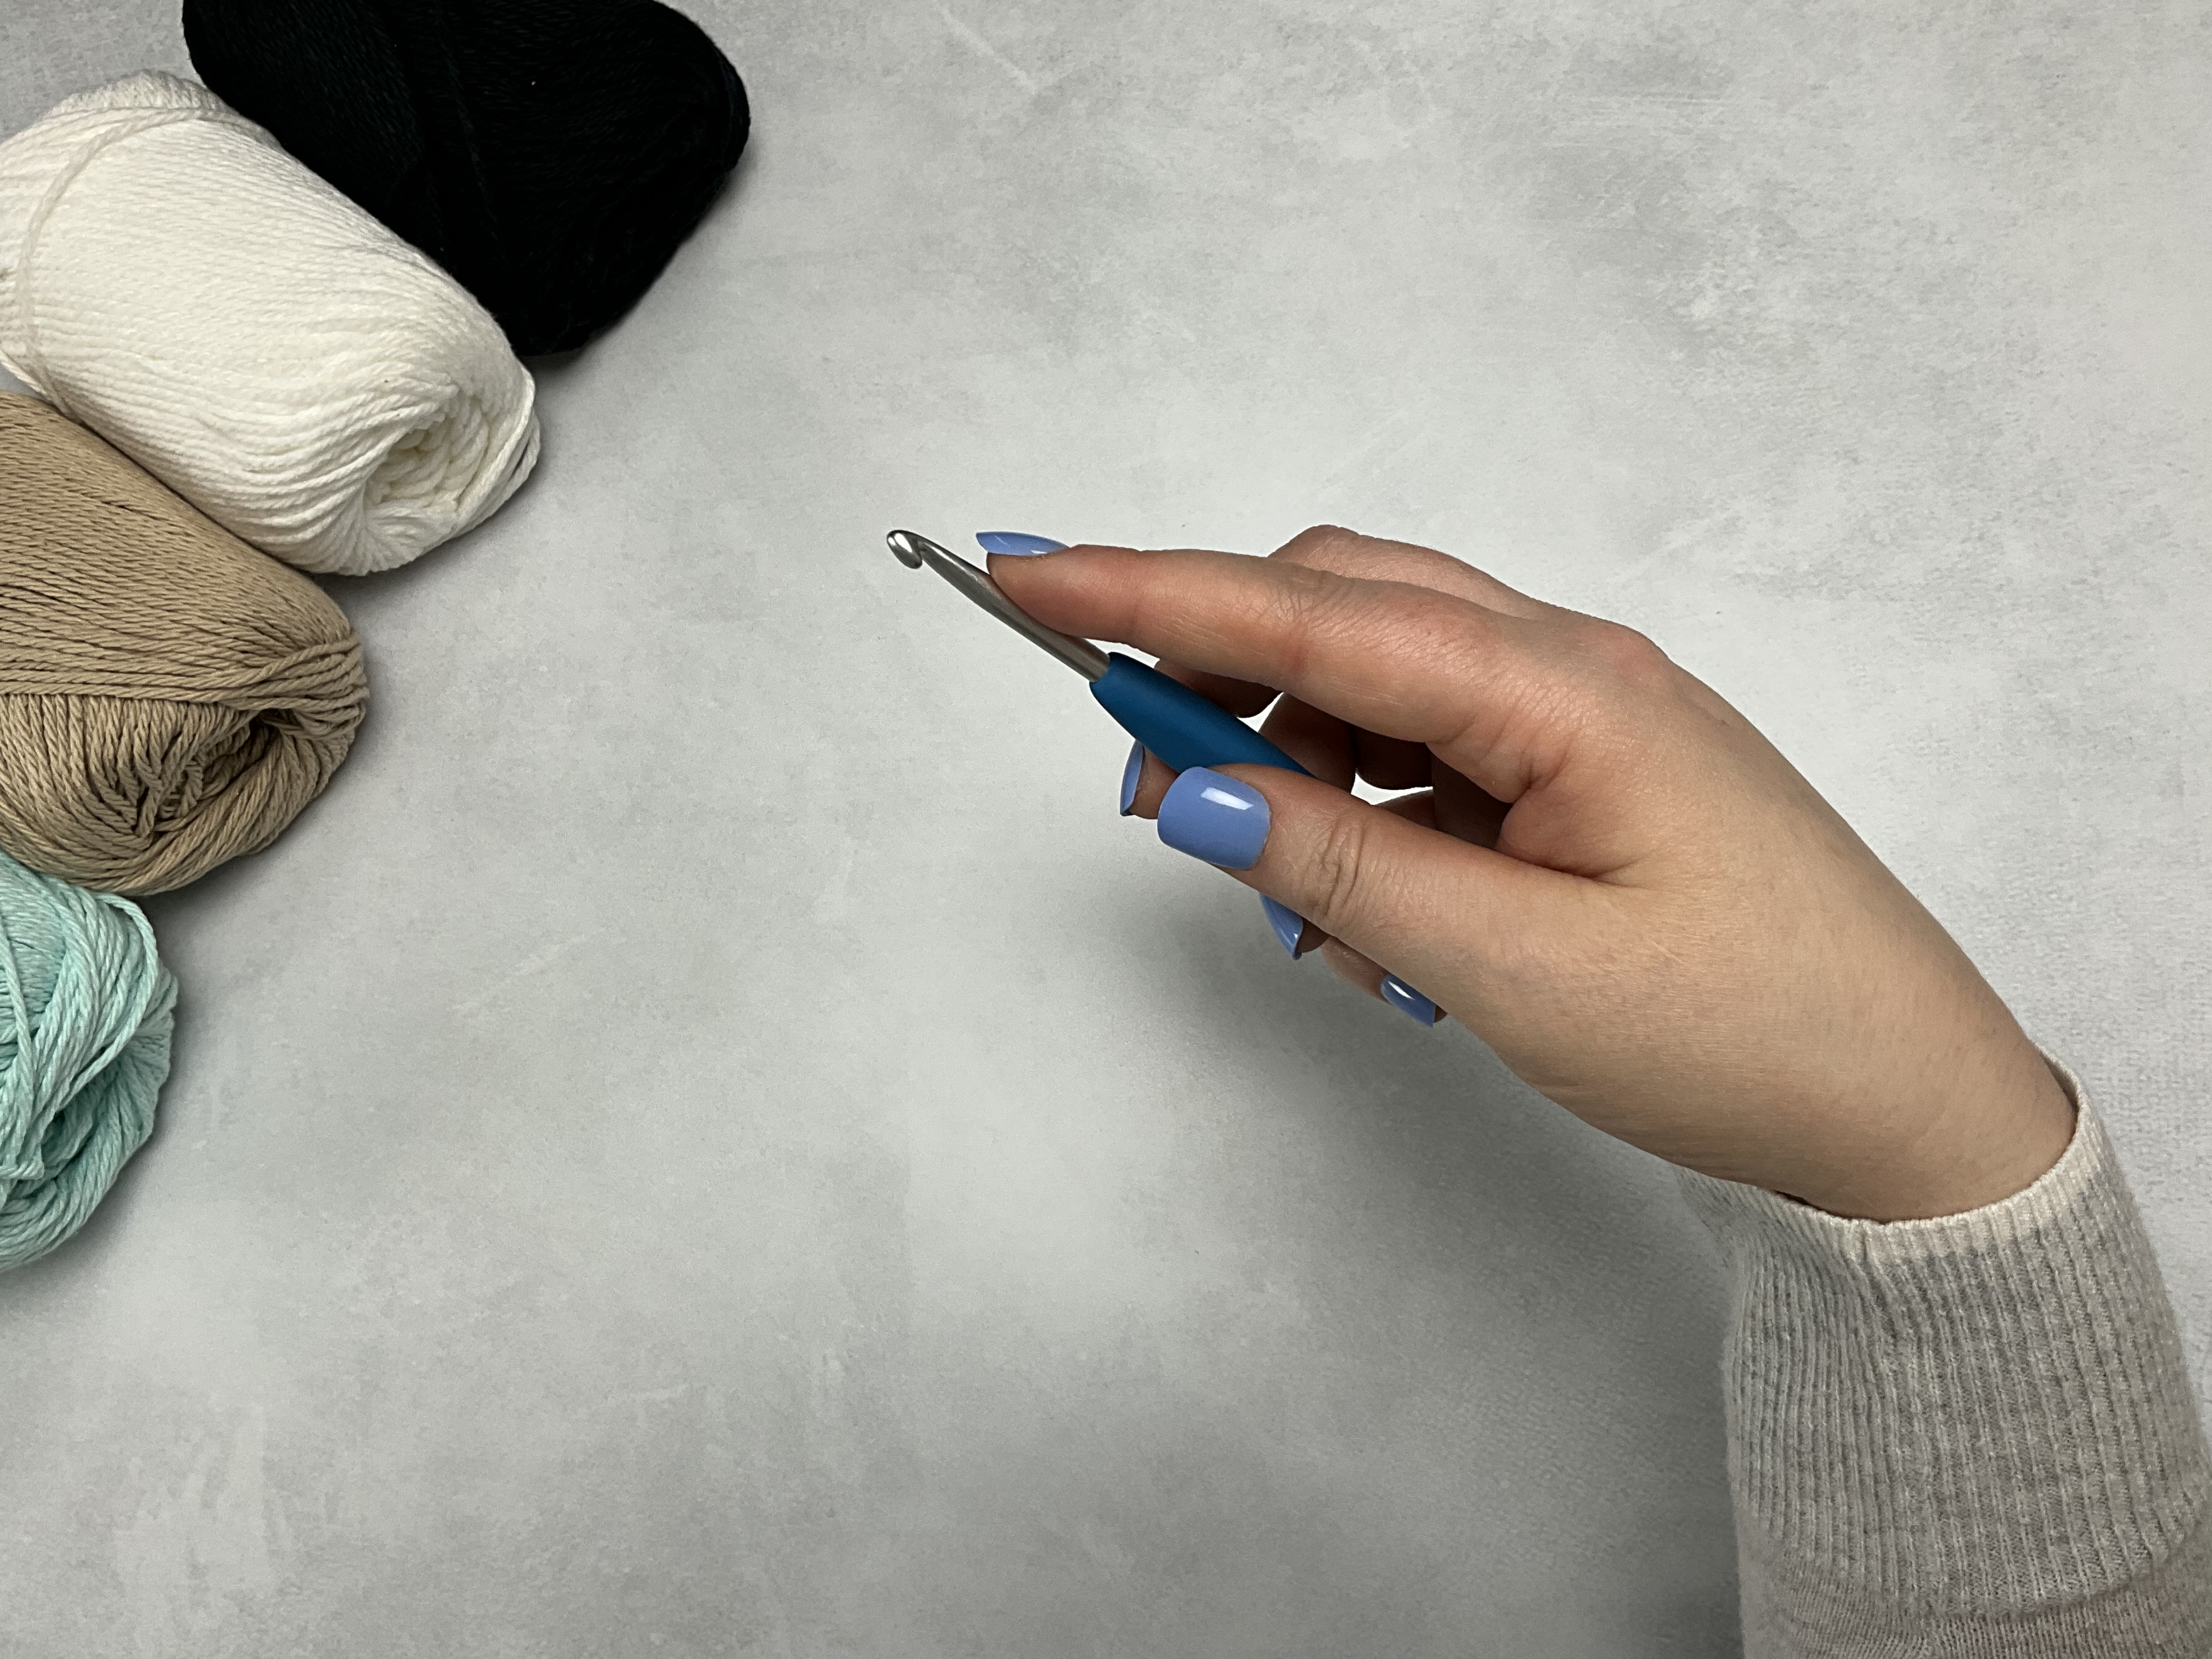
The 'Pencil Hold'
You will hold the hook exactly the way it sounds: like a Pencil! This is a common way of using a crochet hook because it feels familiar. I think that it uses a lot more hand movement and will take time to get used to, but it is an effective way to control your gauge (tension on yarn and fabric).
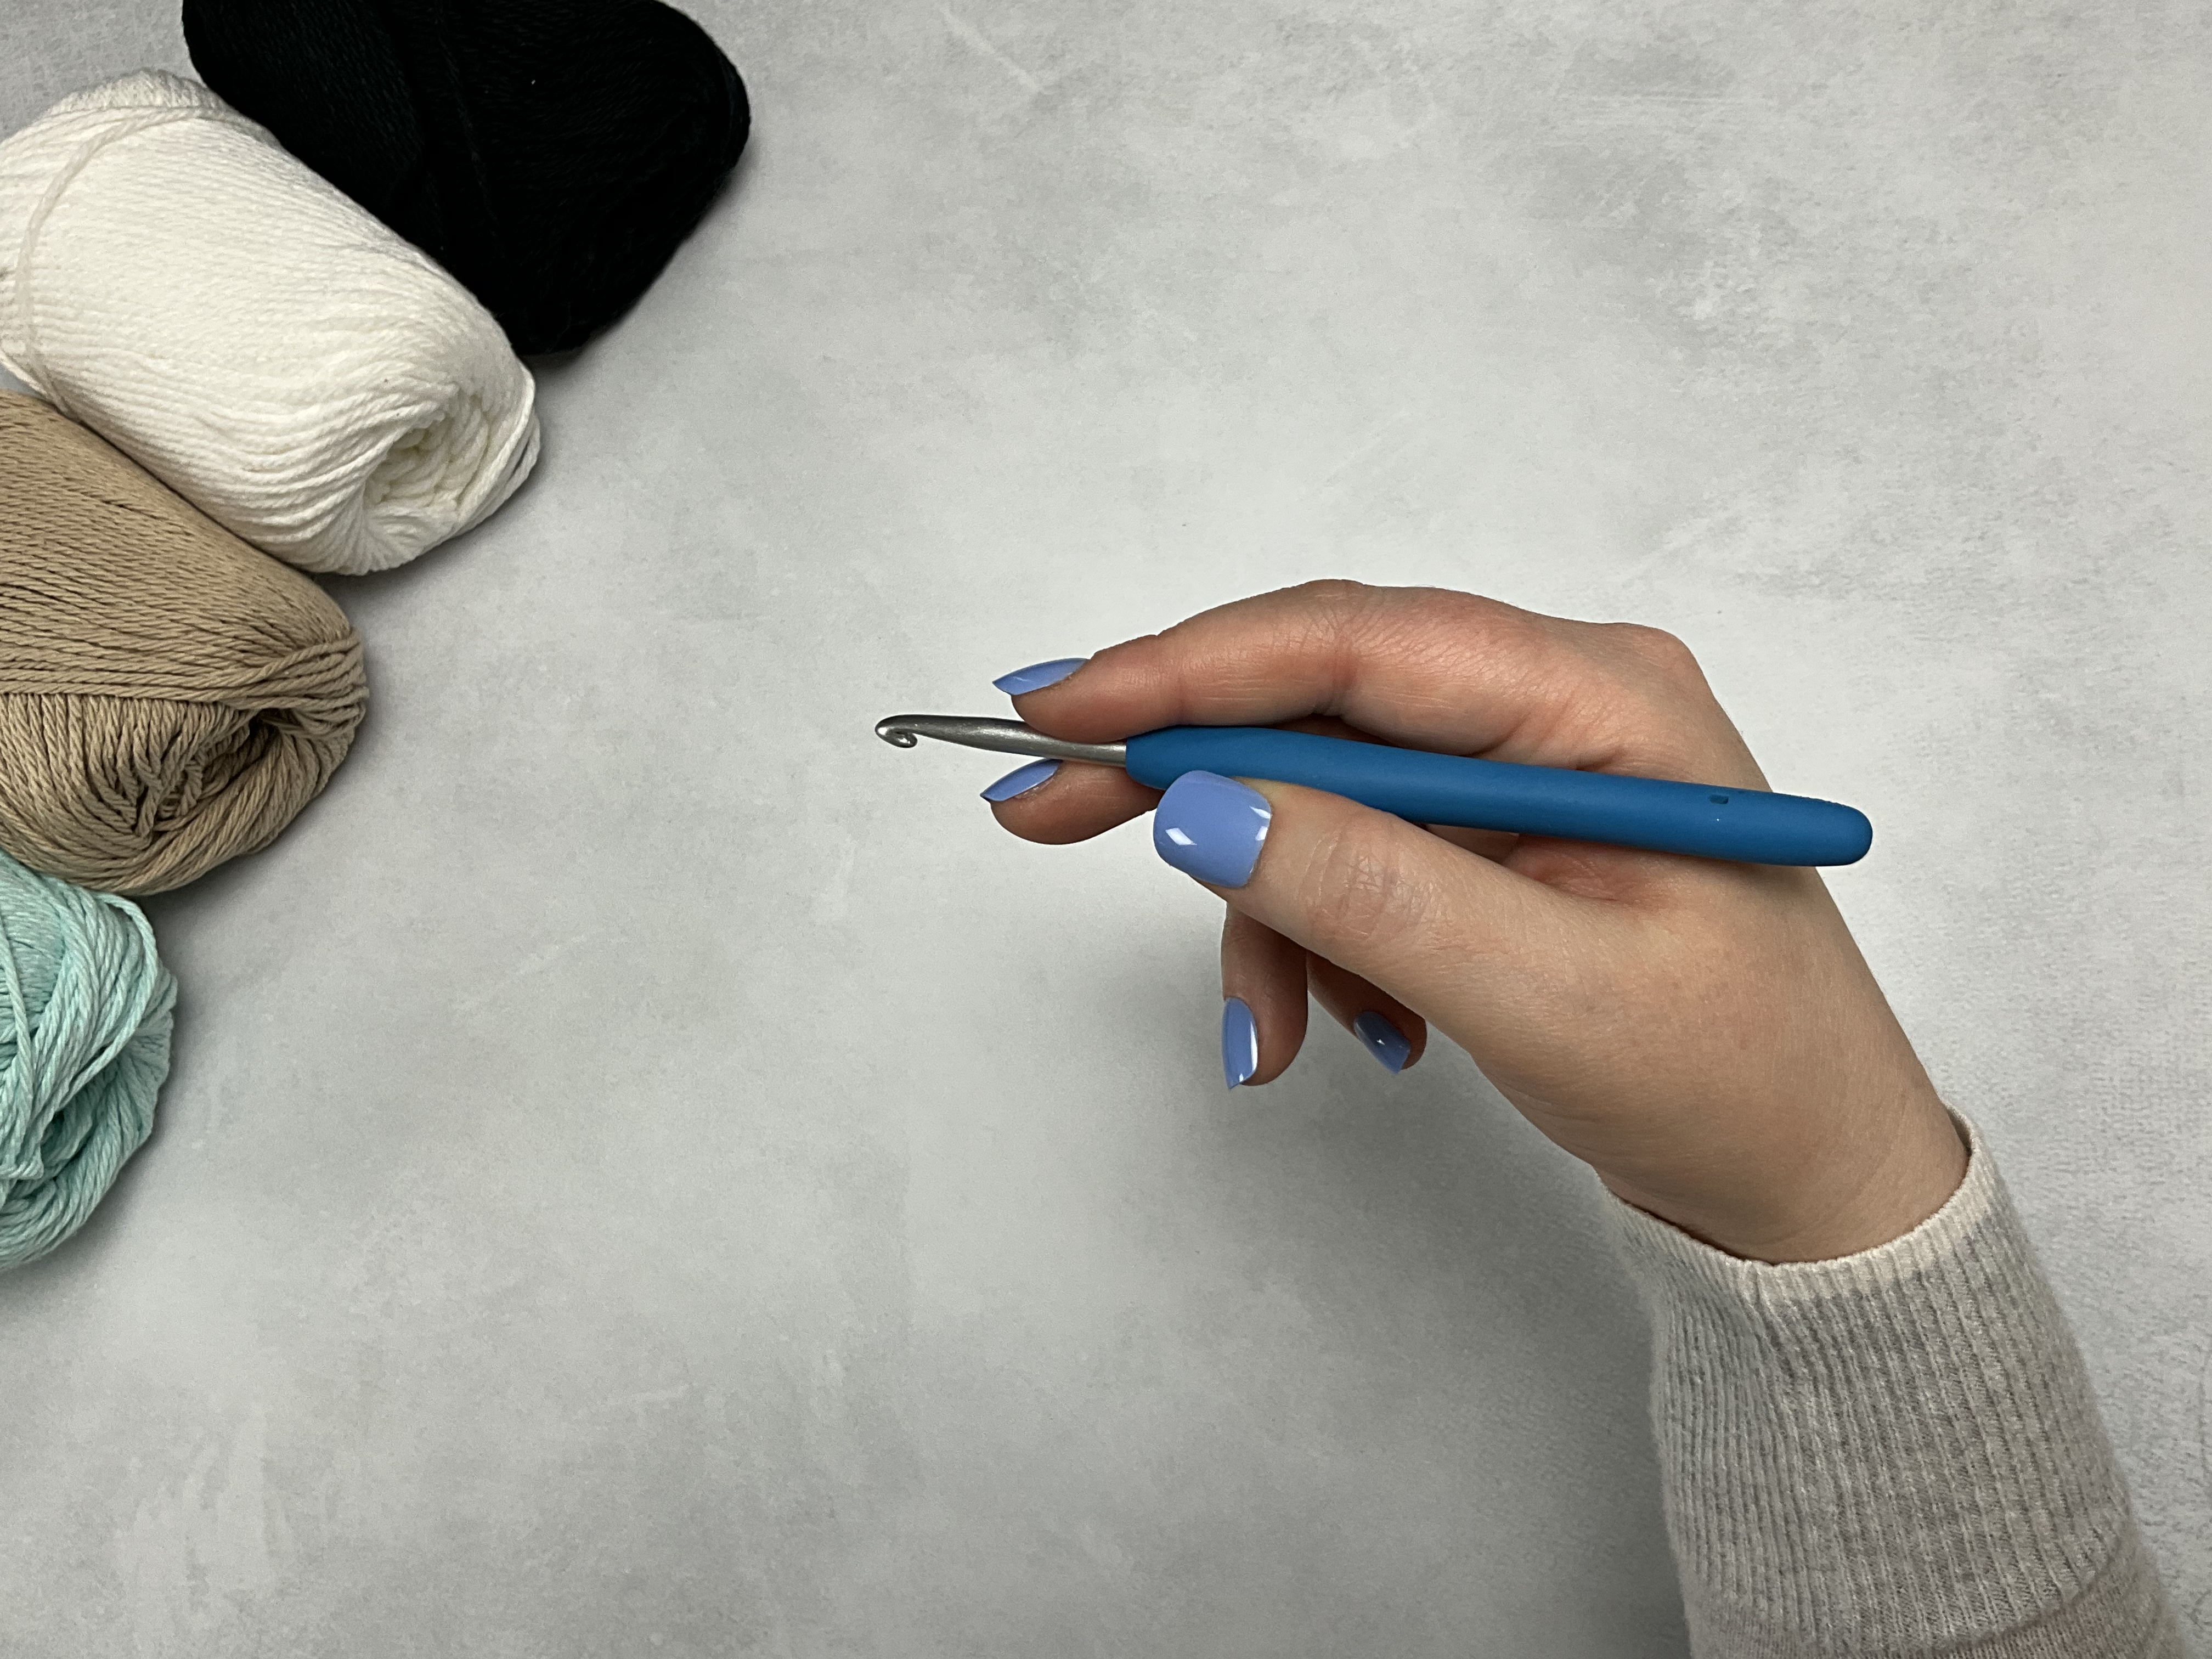
The 'Knife Hold'
This is the way that I prefer to hold my crochet hook. It requires less hand movement (which means I get to crochet more each day!) and I can control my yarn and hold my project easier.
My mother-in-law and my sister both use the Pencil Hold and I use the Knife hold; there isn't a 'wrong' way. Just practice! Practice! Practice! It will become a habit and your muscle memory will take over and you'll be crocheting in no-time!
Creating a slip knot
The slip knot is often used to begin a crochet pattern but it is an unspoken step. For example, a pattern says to 'chain 2'. You'll create your slip knot (which is an adjustable knot) and then use the loop to begin your chain. Watch how easy it is:
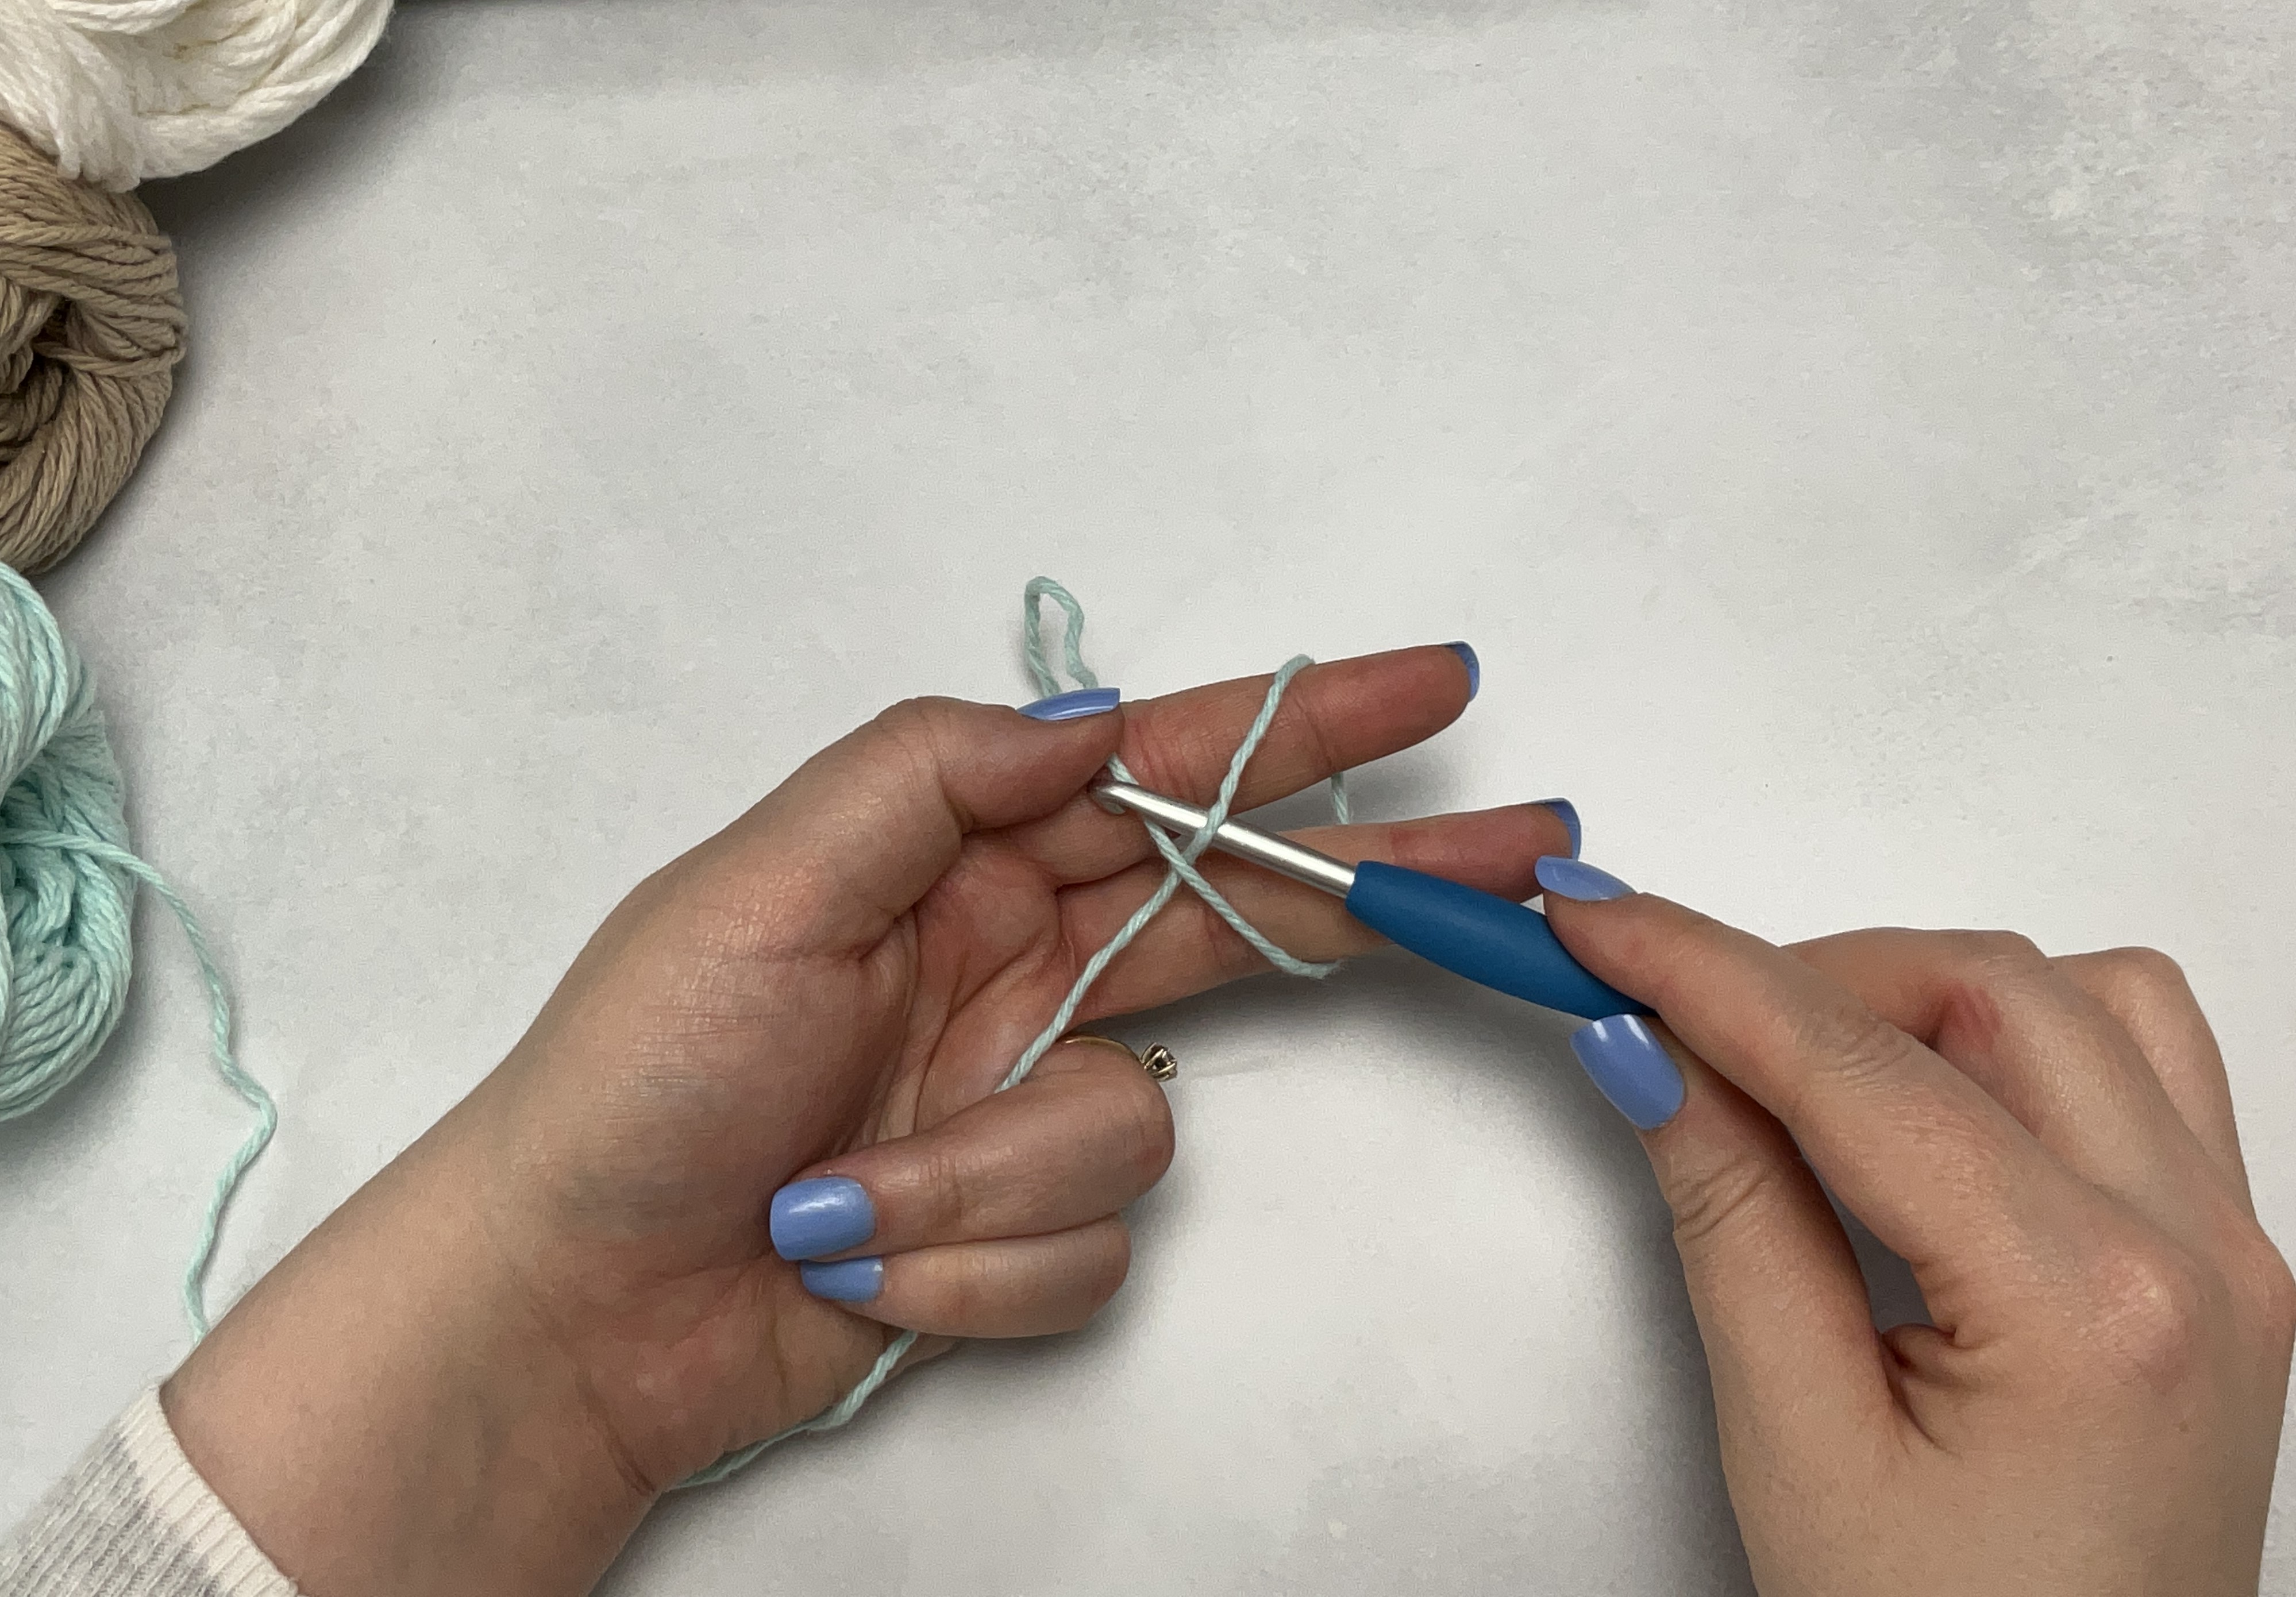
First, wrap the yarn around your two fingers and hold the end of yarn with your thumb on the front.
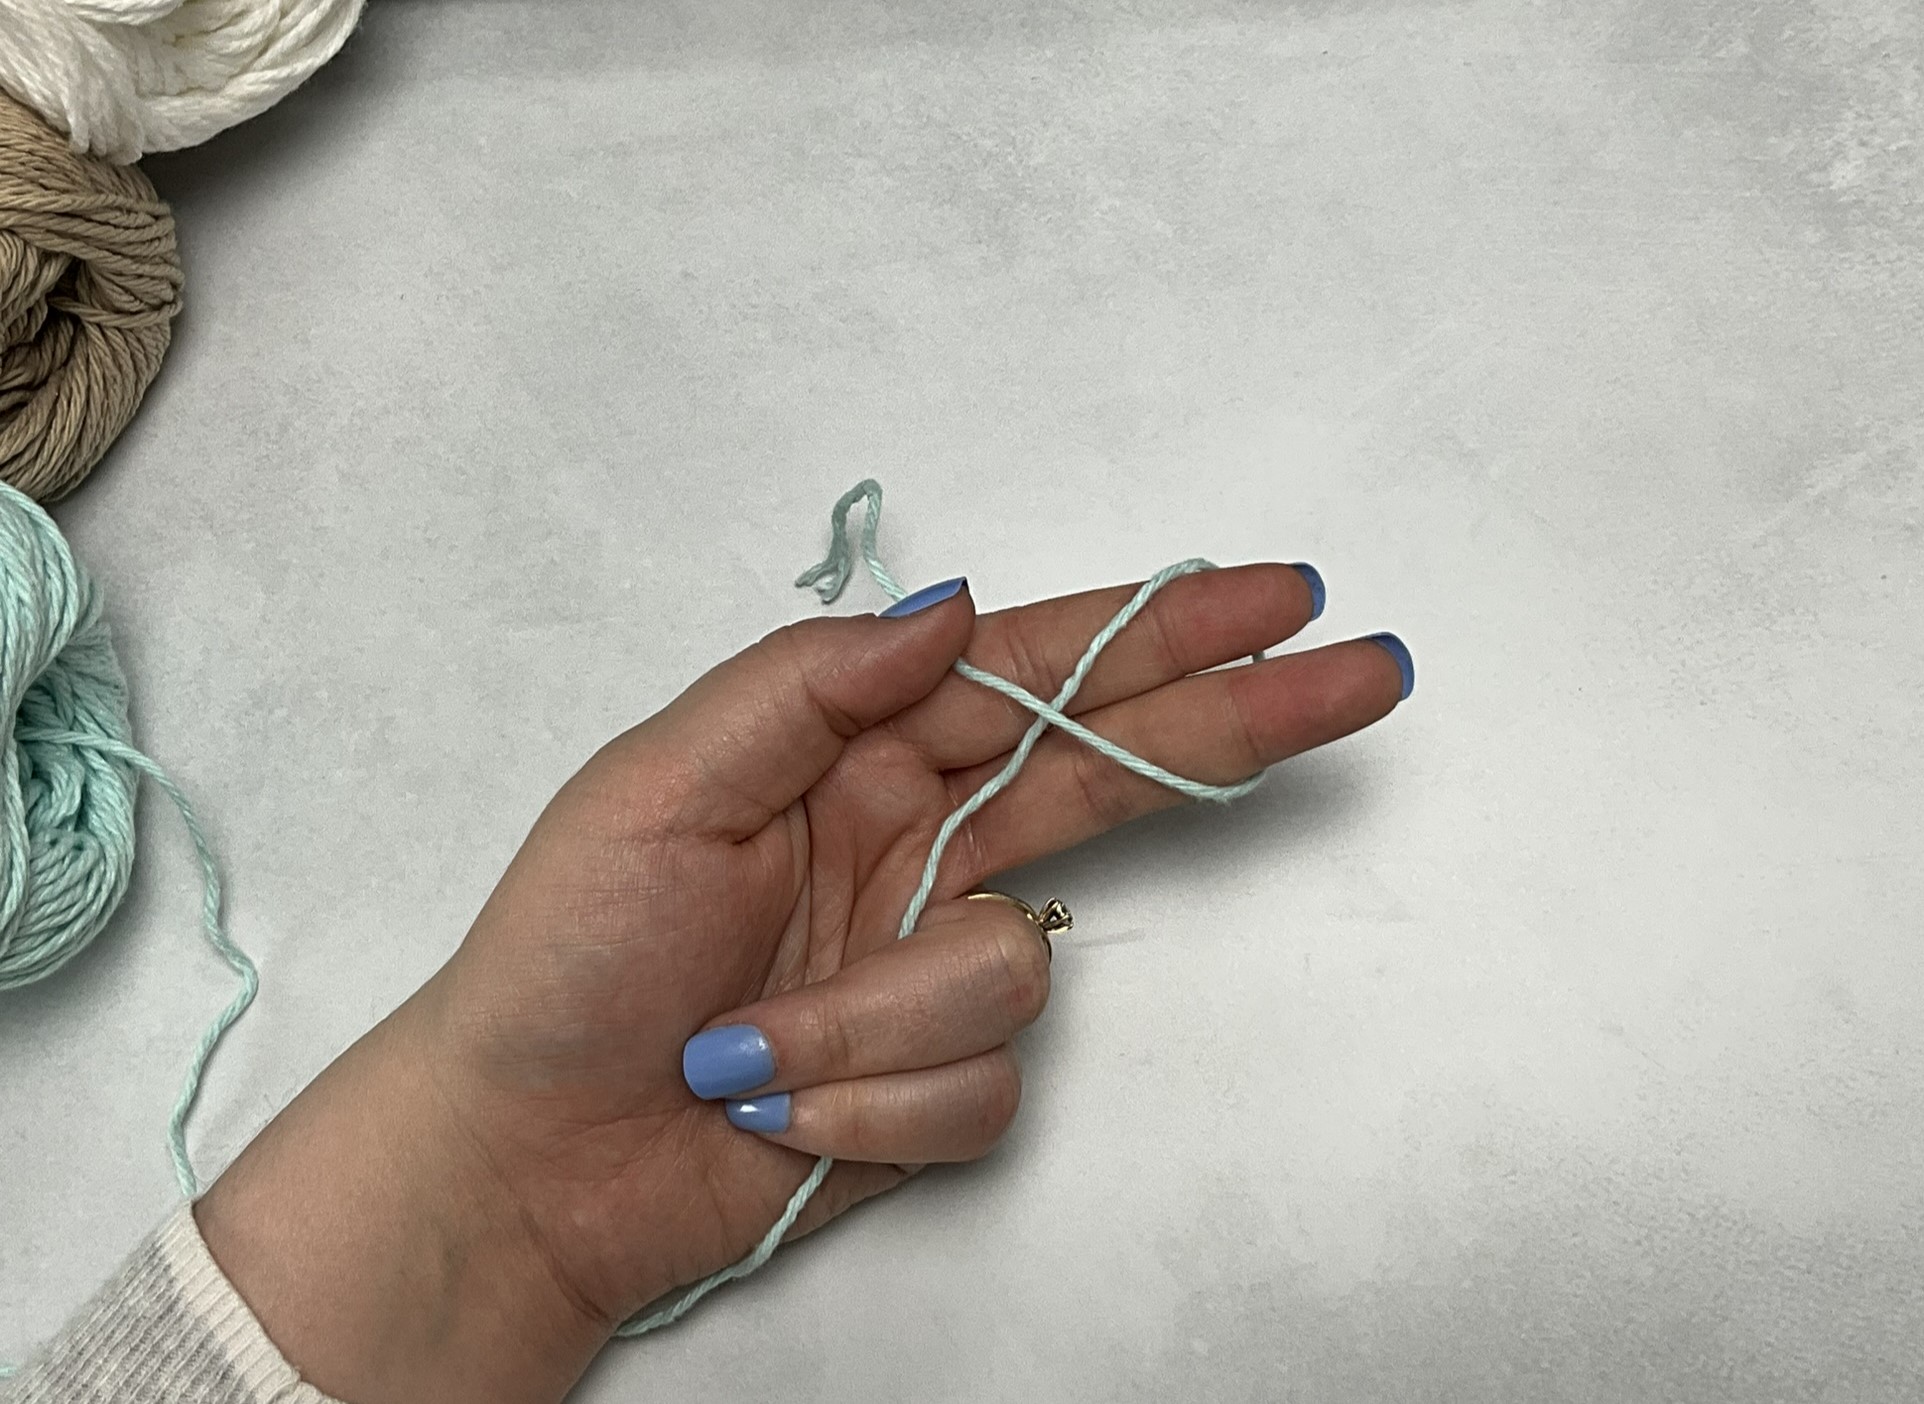
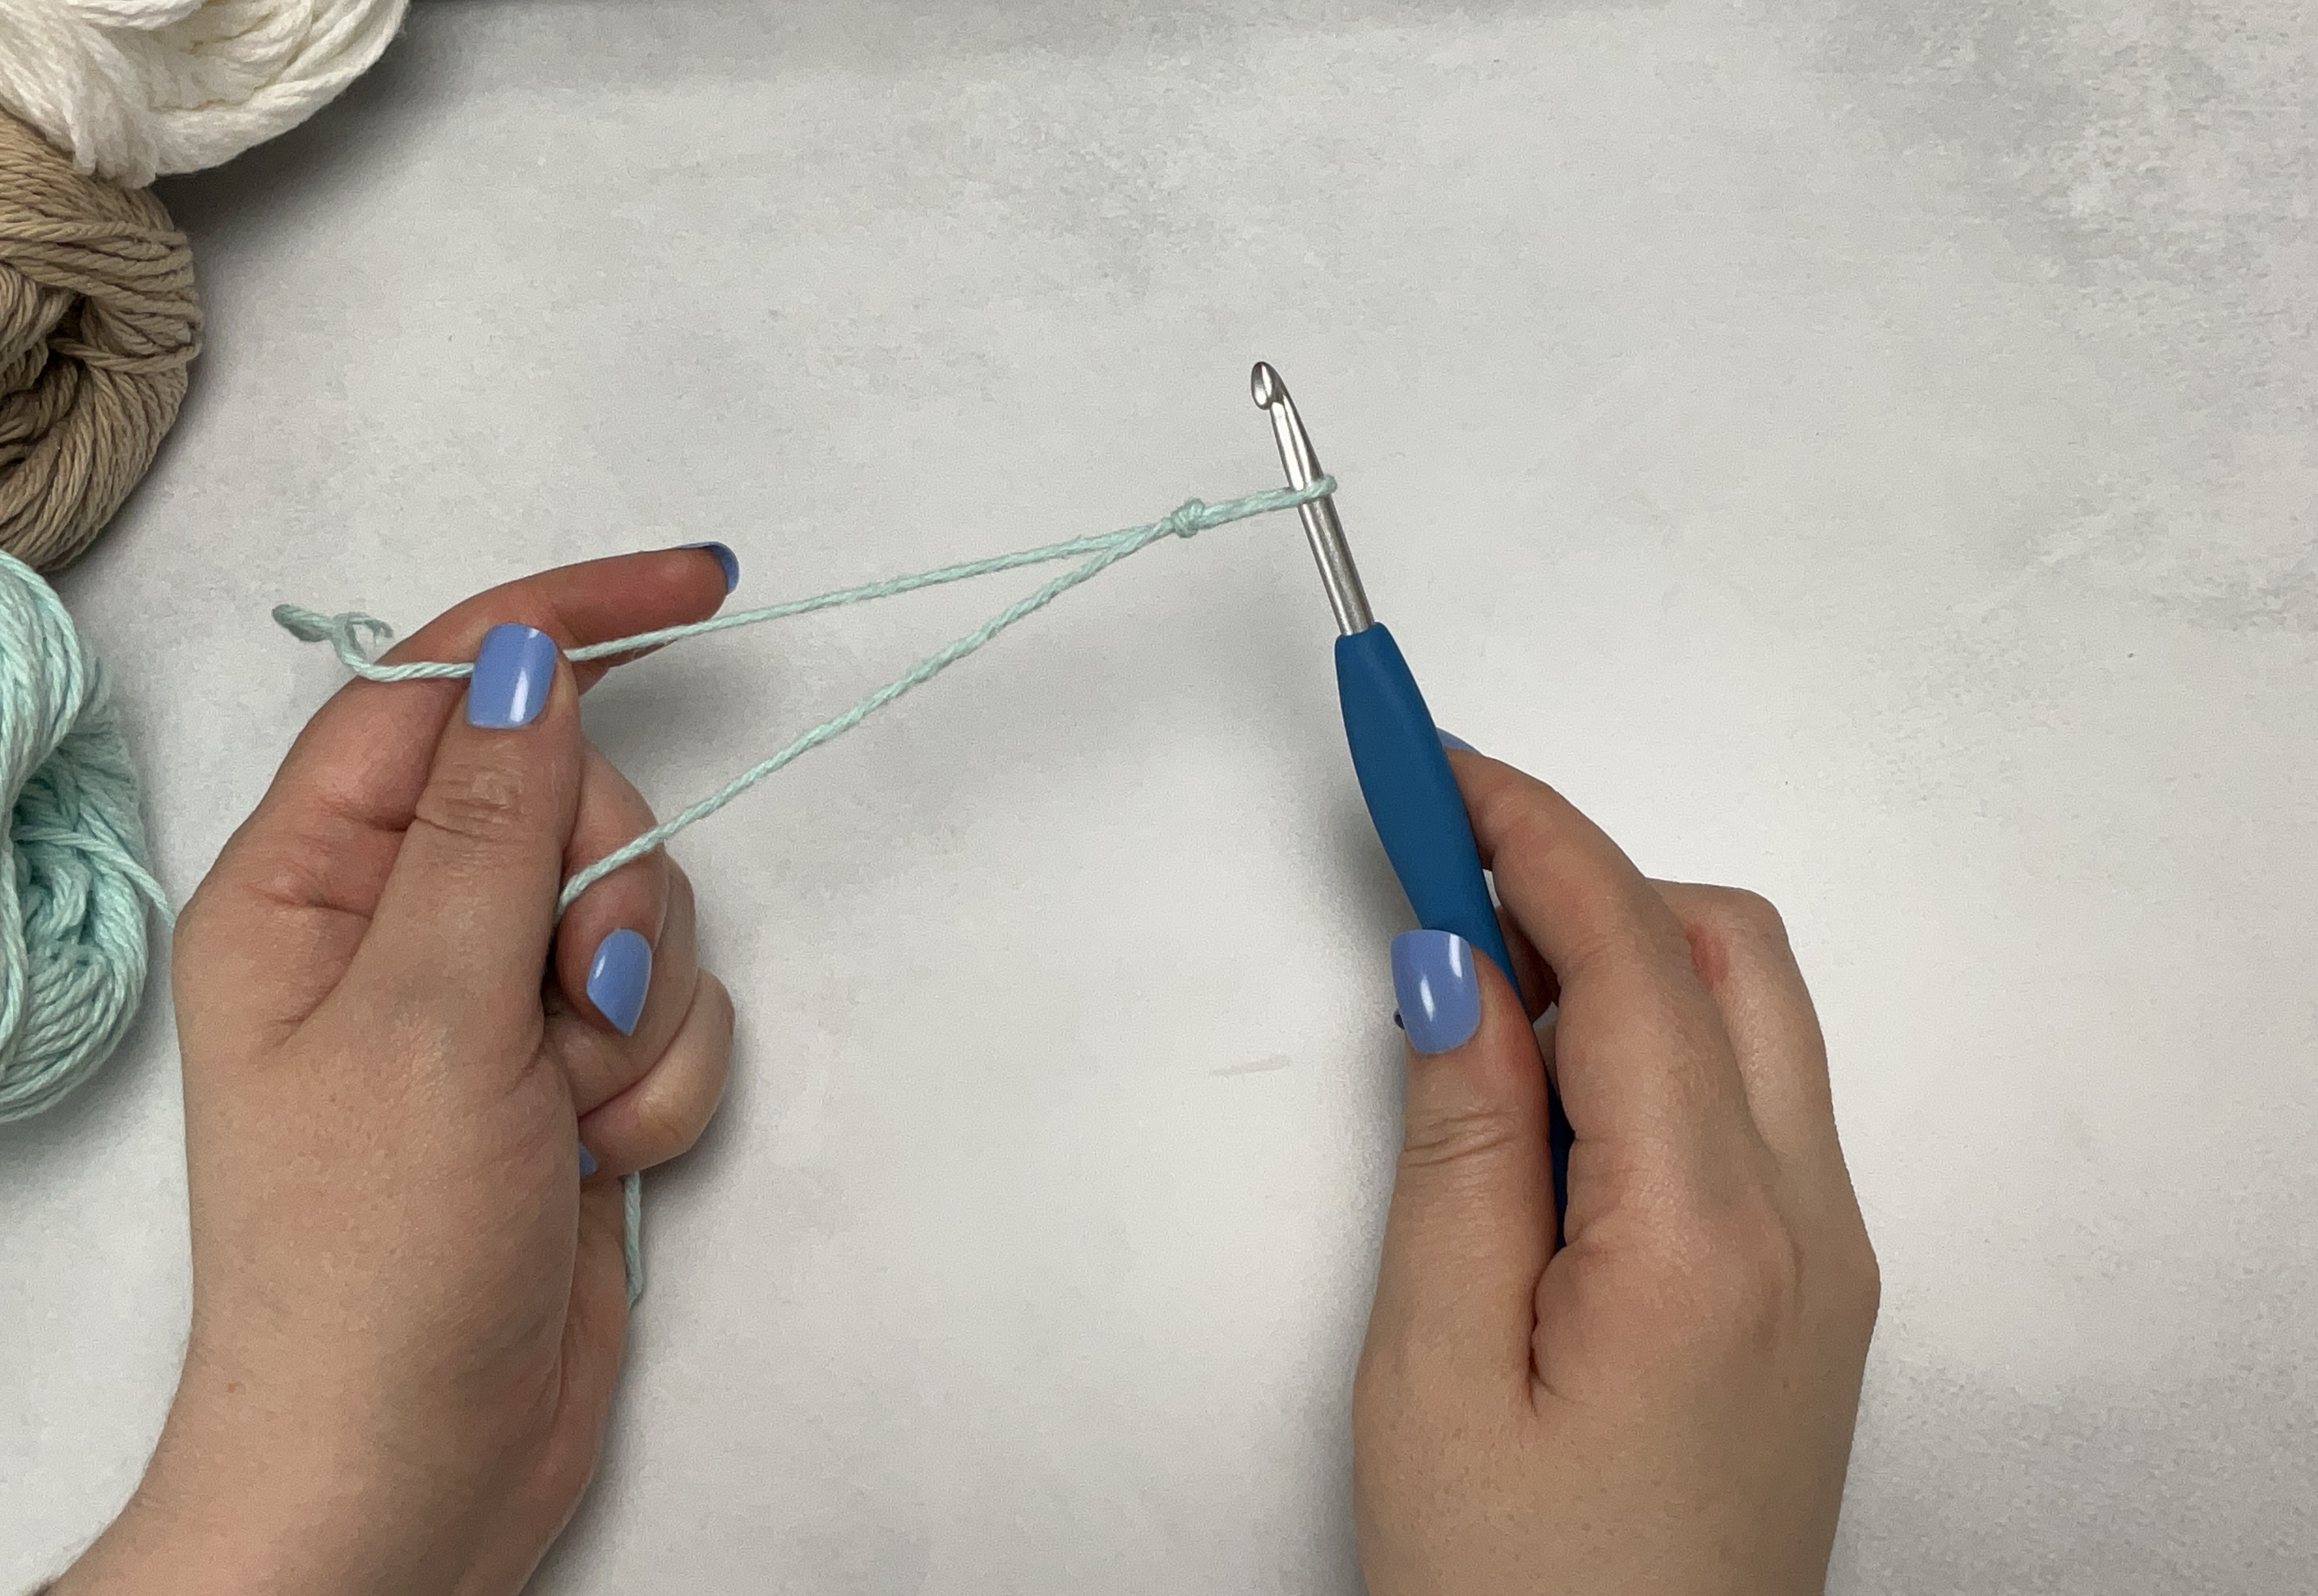
Then use your finger or hook to reach under the top wrapped yarn and grab the yarn held by thumb. Do not let go of the yarn held by your thumb.
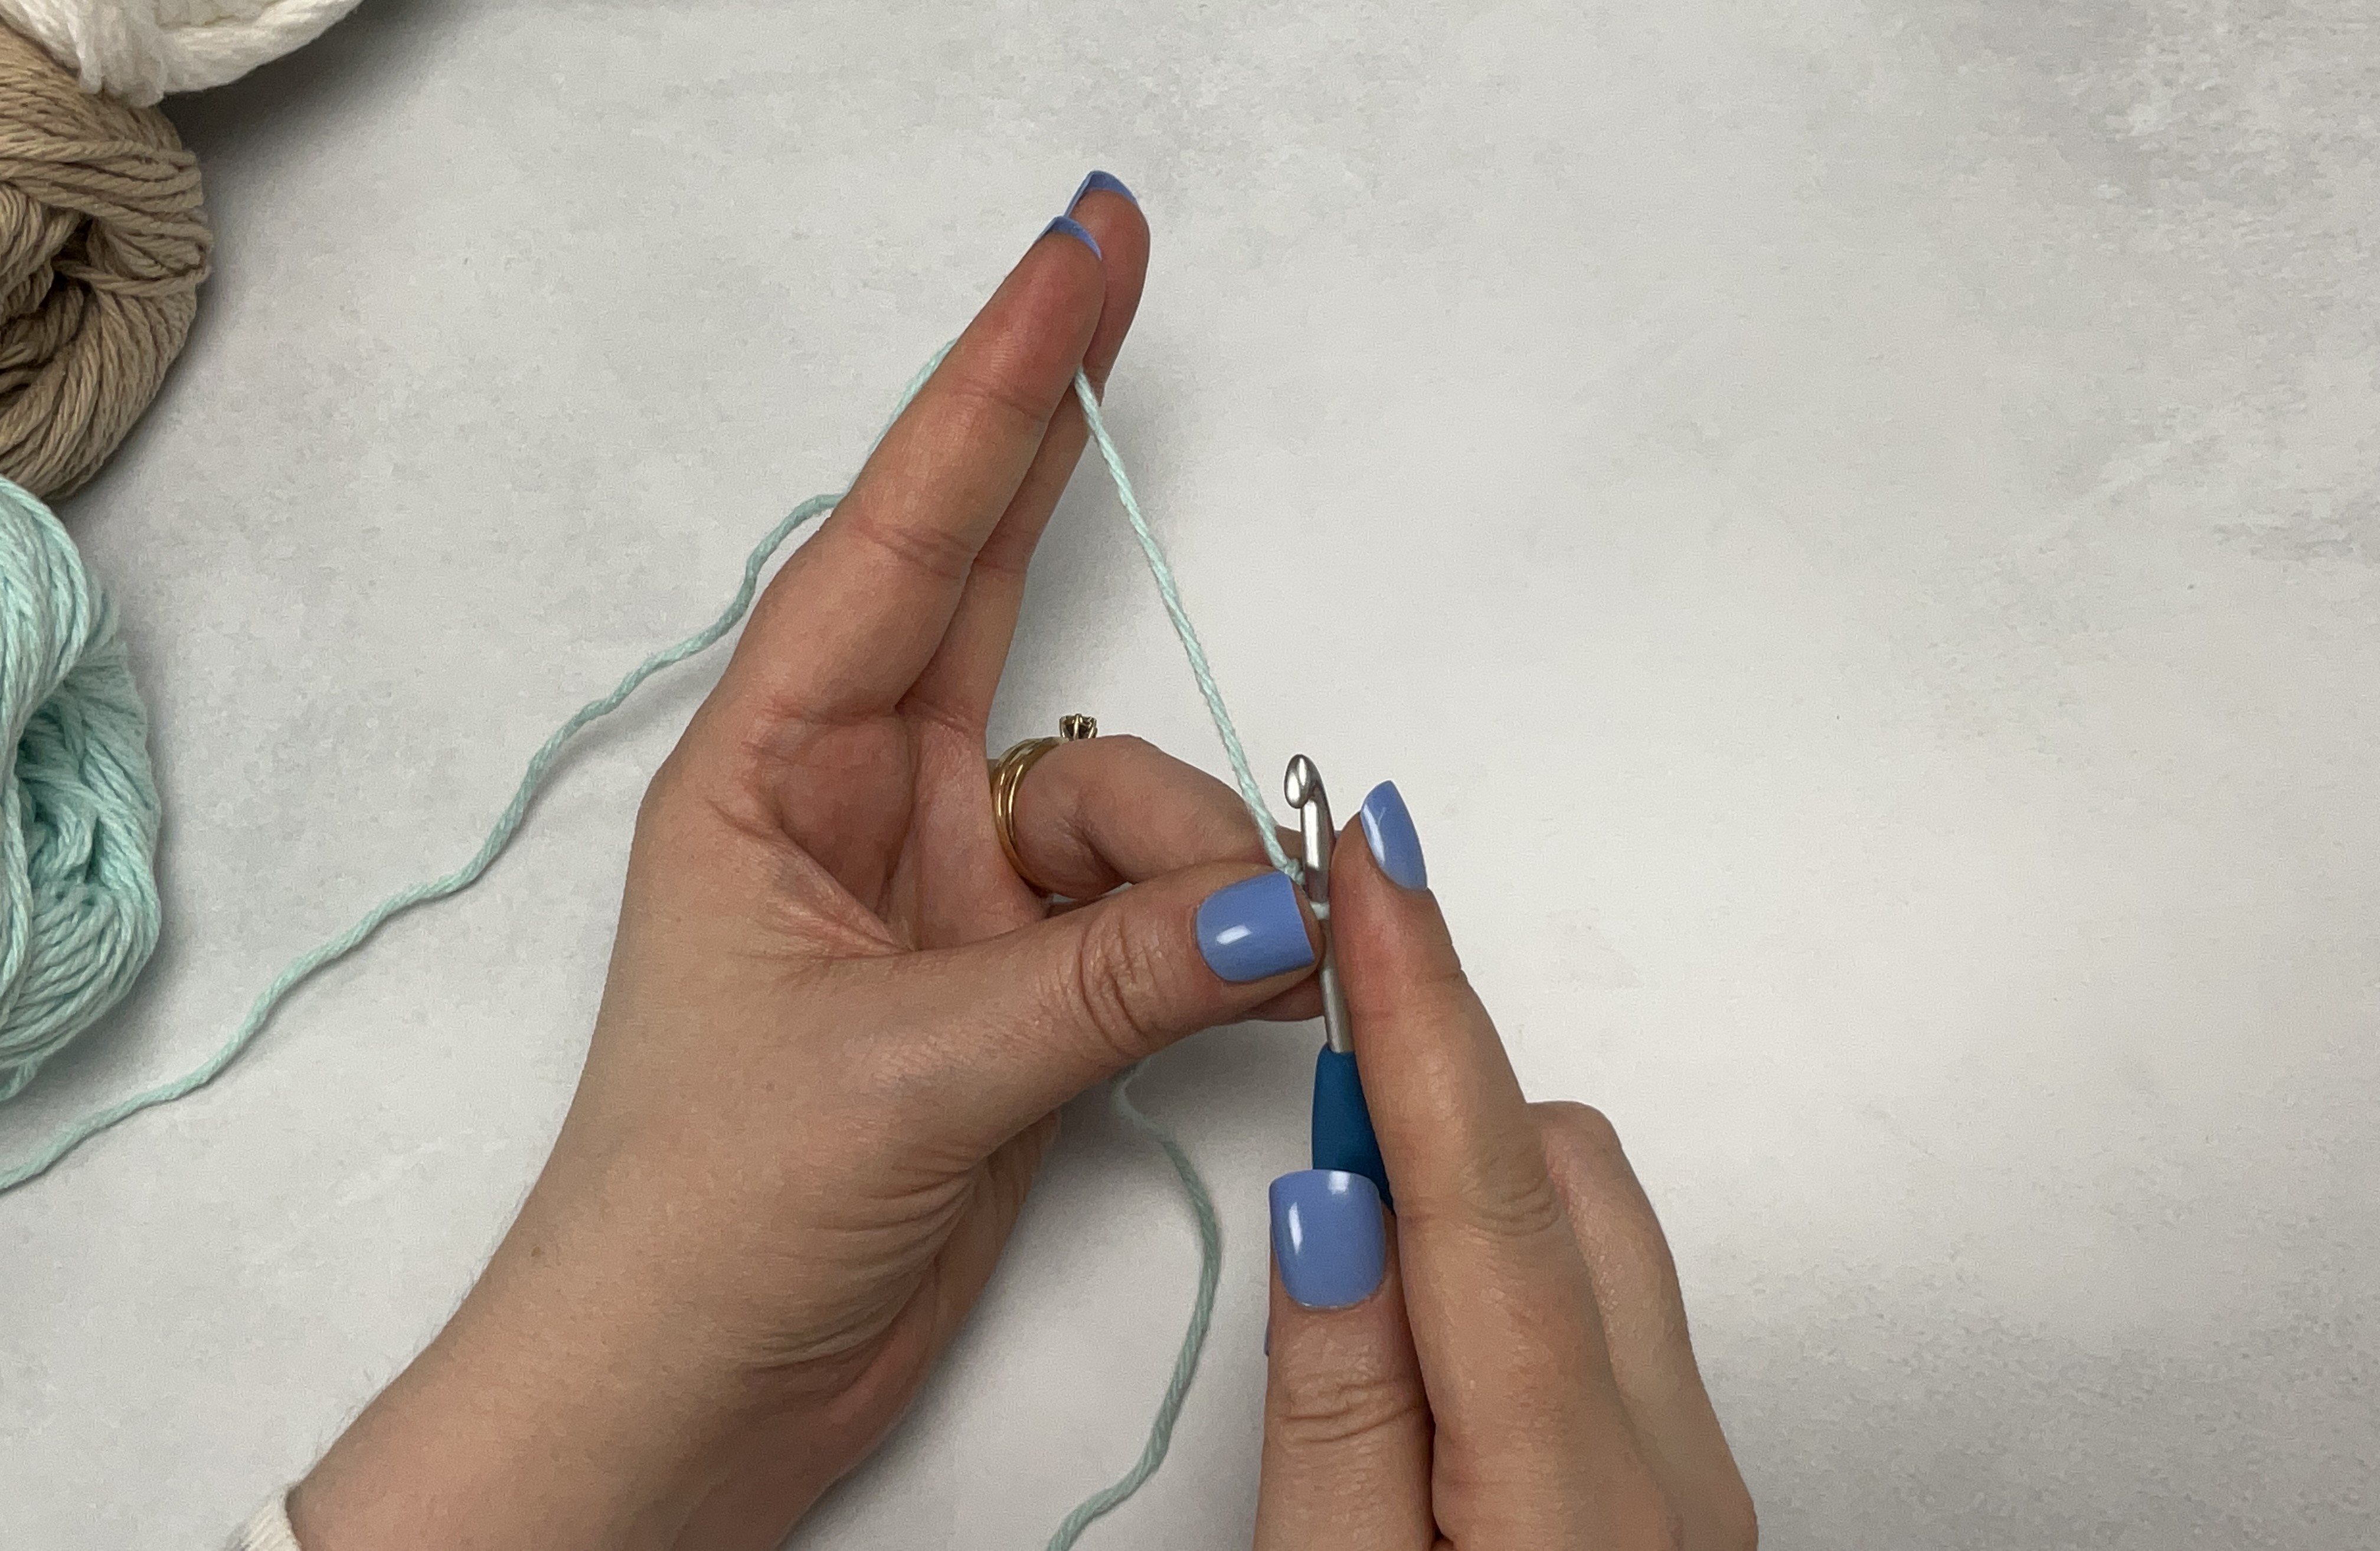
Gently pull the yarn out and it will form a loop. Hold onto the working yarn (in palm) and the end of yarn (under thumb).
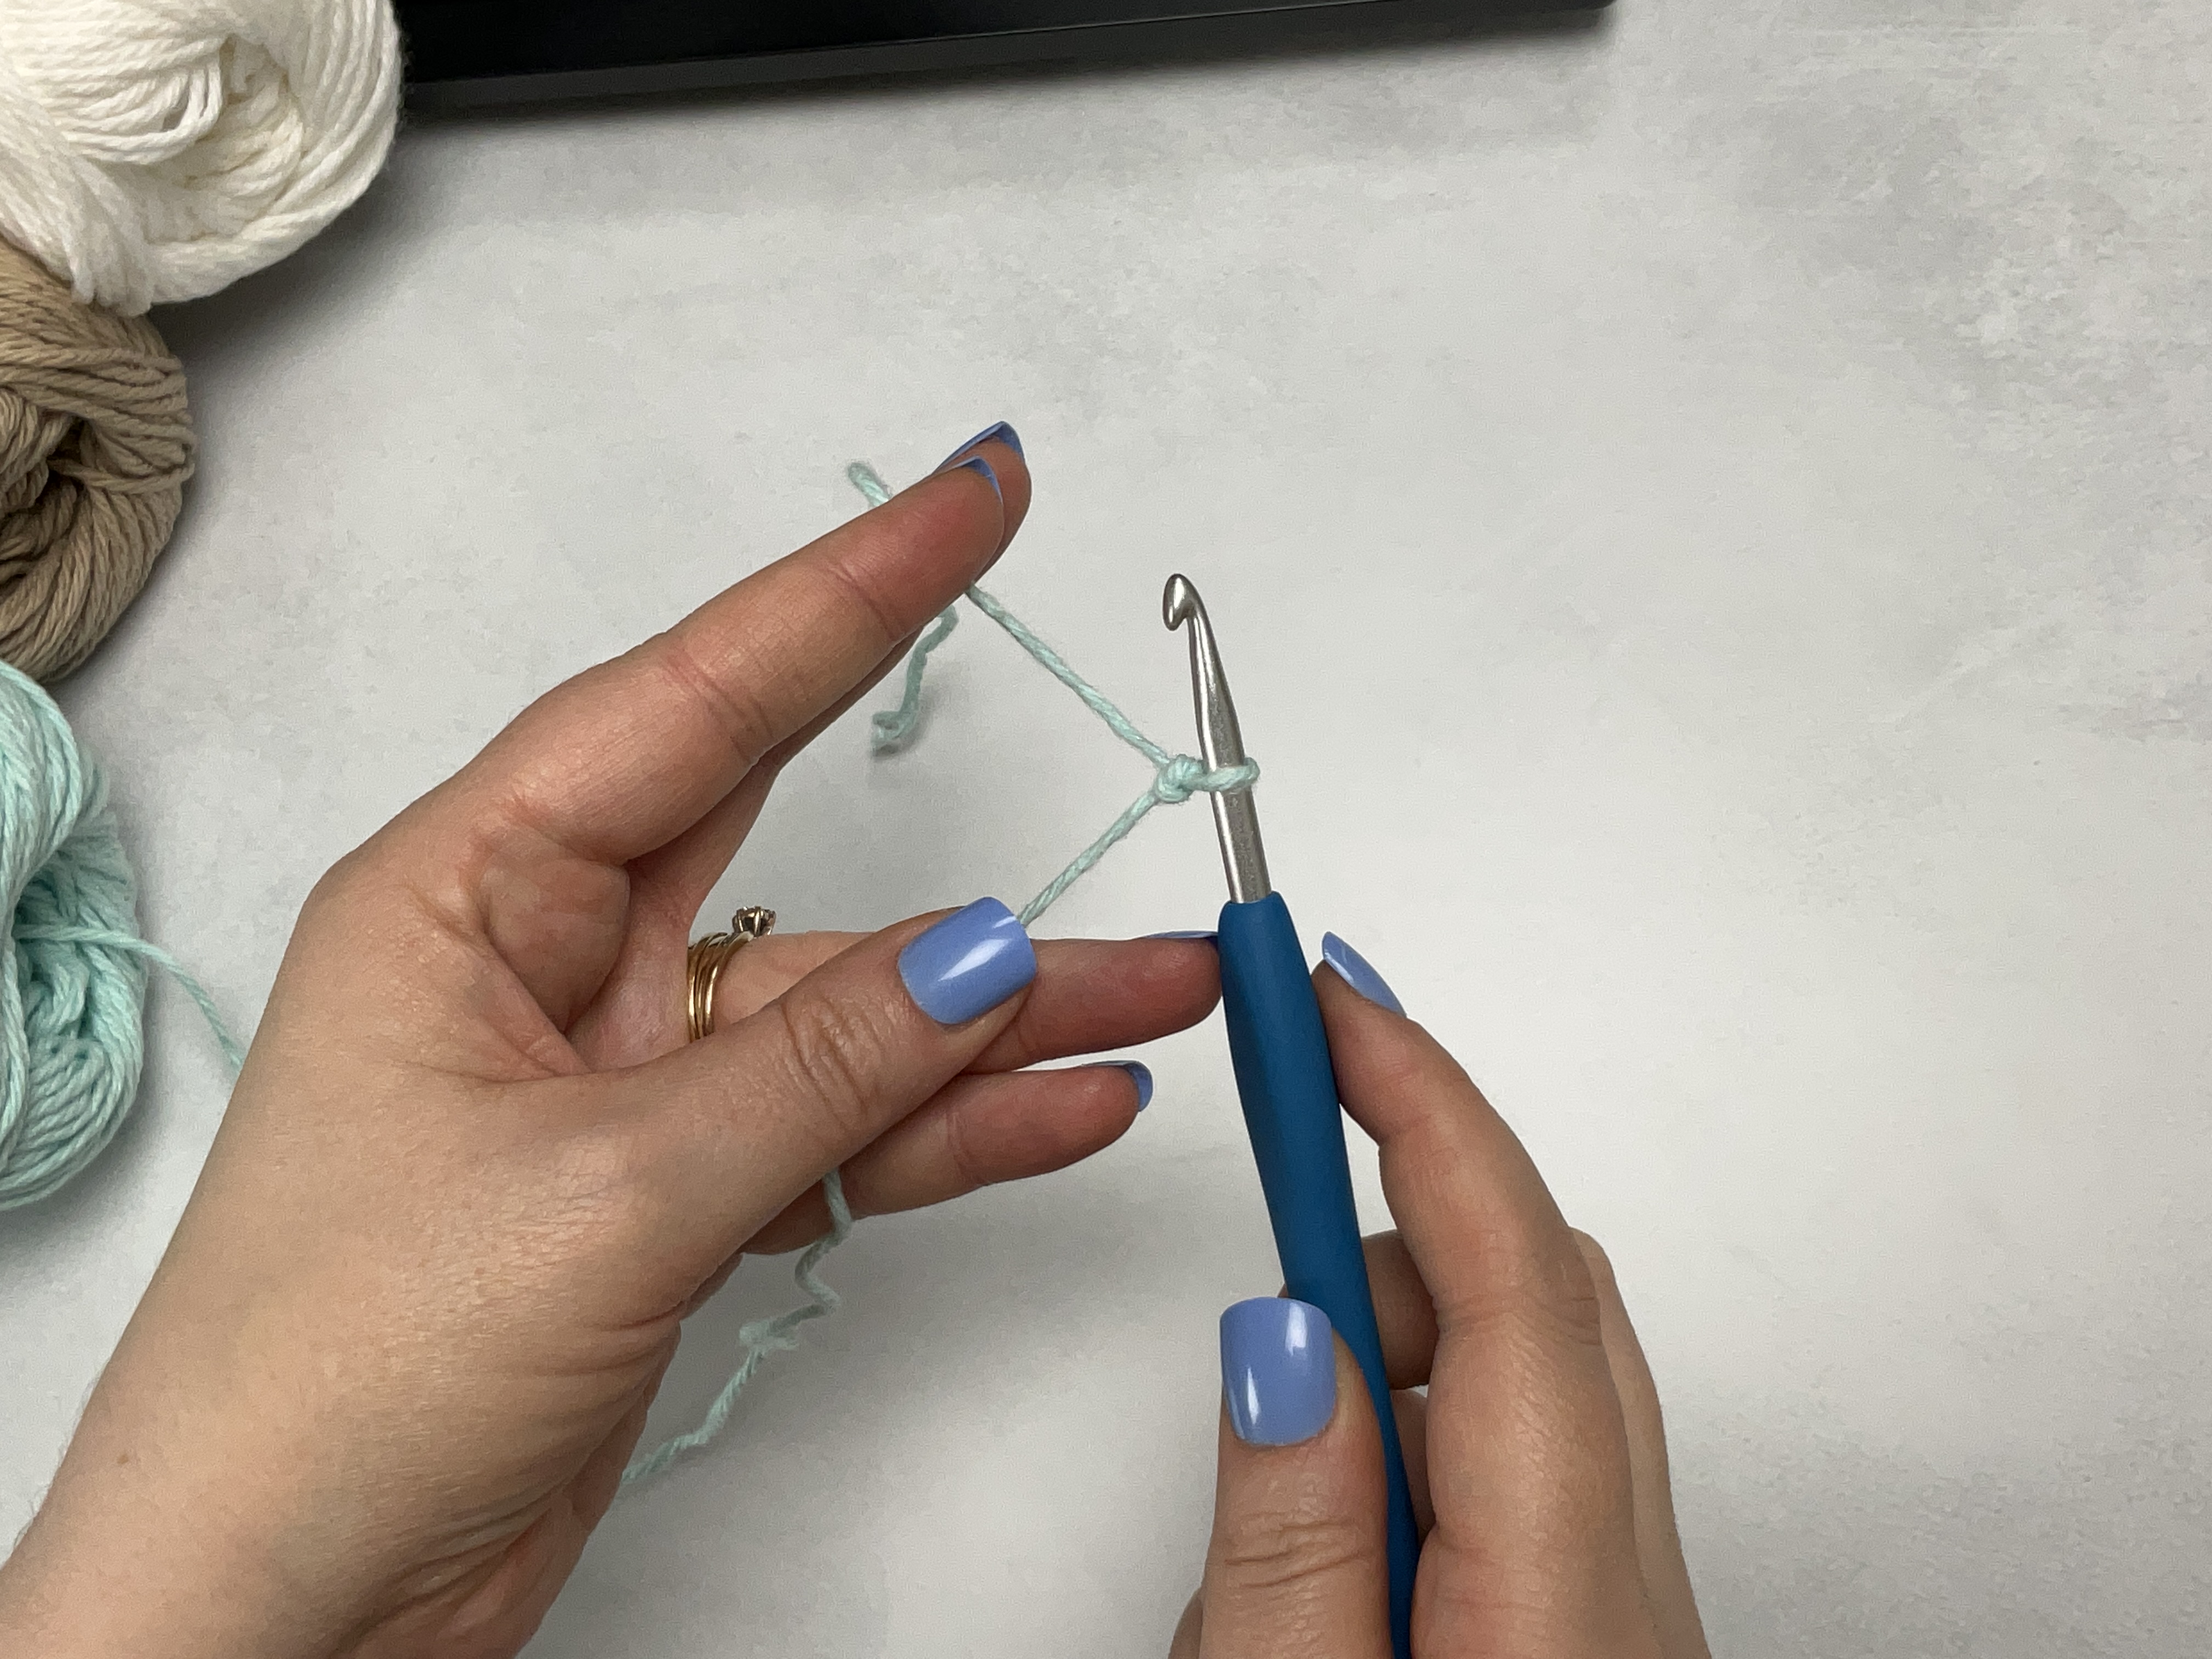
Now, adjust the loop by pulling gently on the end of the yarn. It should fit snug, but not too tight, around the hook.
How to hold your yarn
This part is easy. Simply find the best way to have tension between your hand and the hook. You are basically feeding the yarn to your project and you need to have it tight enough so your stitches will be even. To begin, some just let the yarn slide between their fingers until you figure out the juggling act of holding the hook, yarn and stitching.
However, I would recommend wrapping the yarn at least one time around either the pointer or middle finger to help with tension.
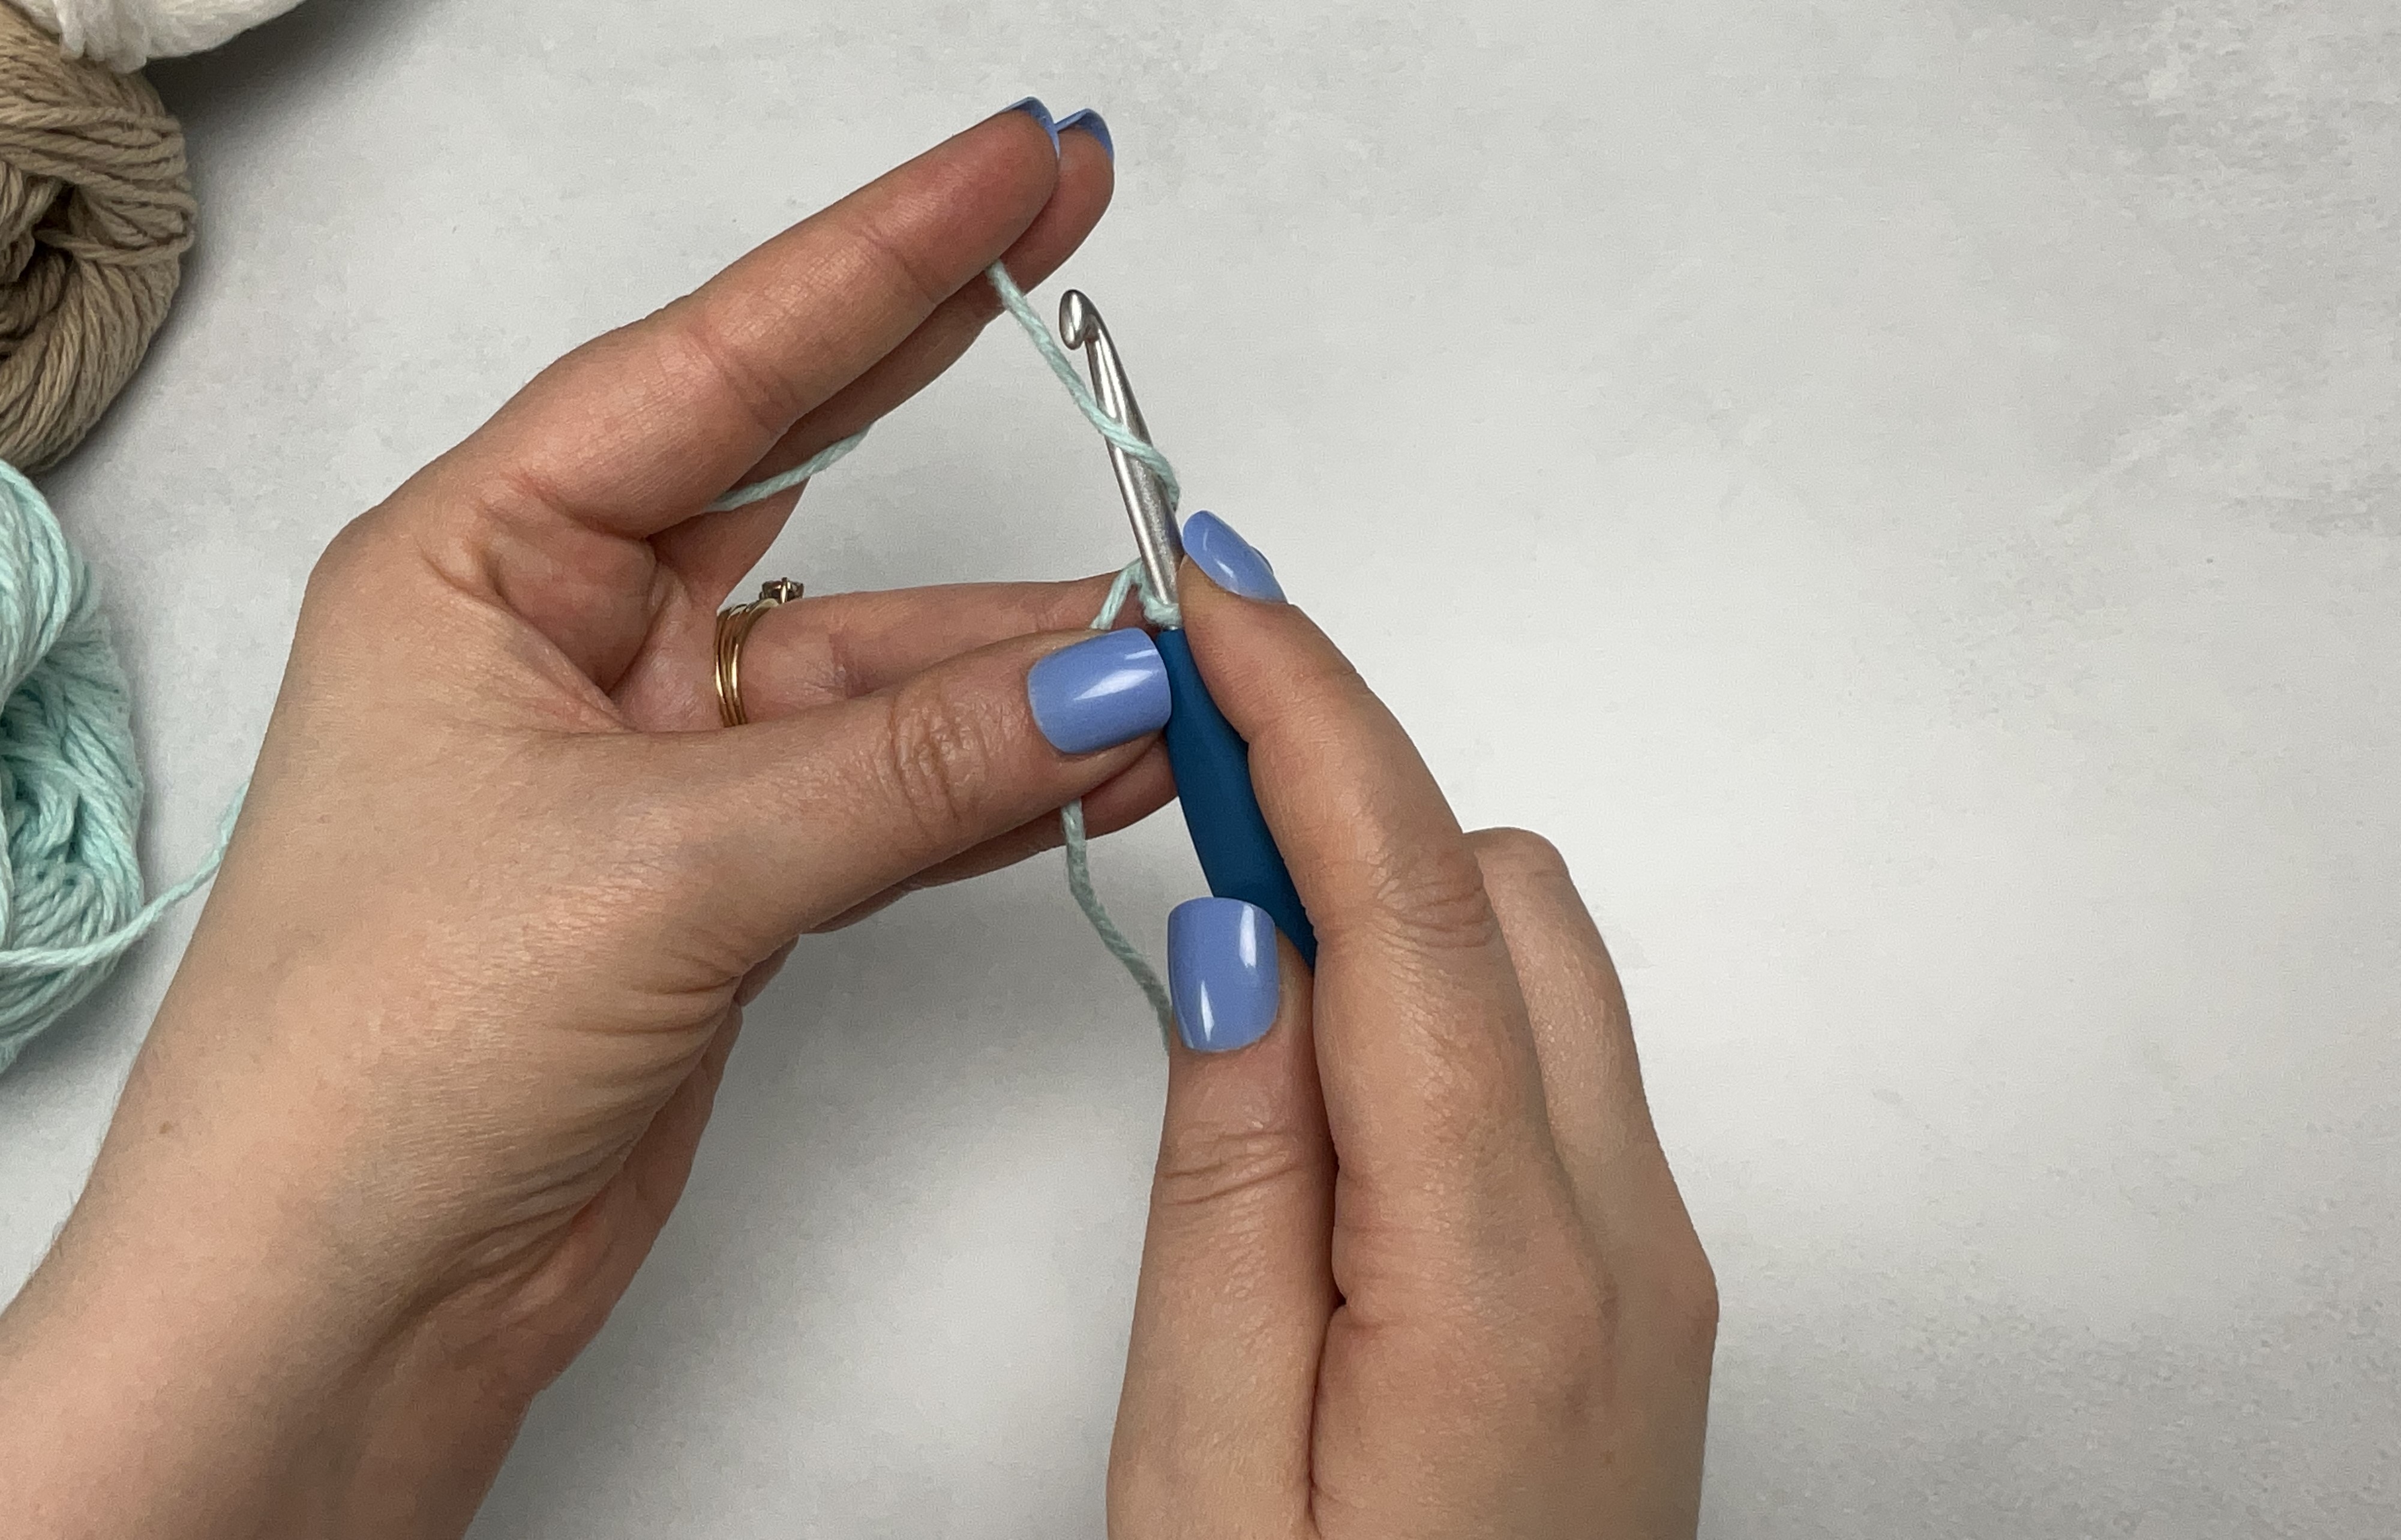
How to chain
Now that you have your first loop created by the slip knot, insert you hook in the loop. The slip knot does NOT count as a chain.
Wrap the yarn over the hook from back to from (also called a 'yarn over') and pull it through the loop.
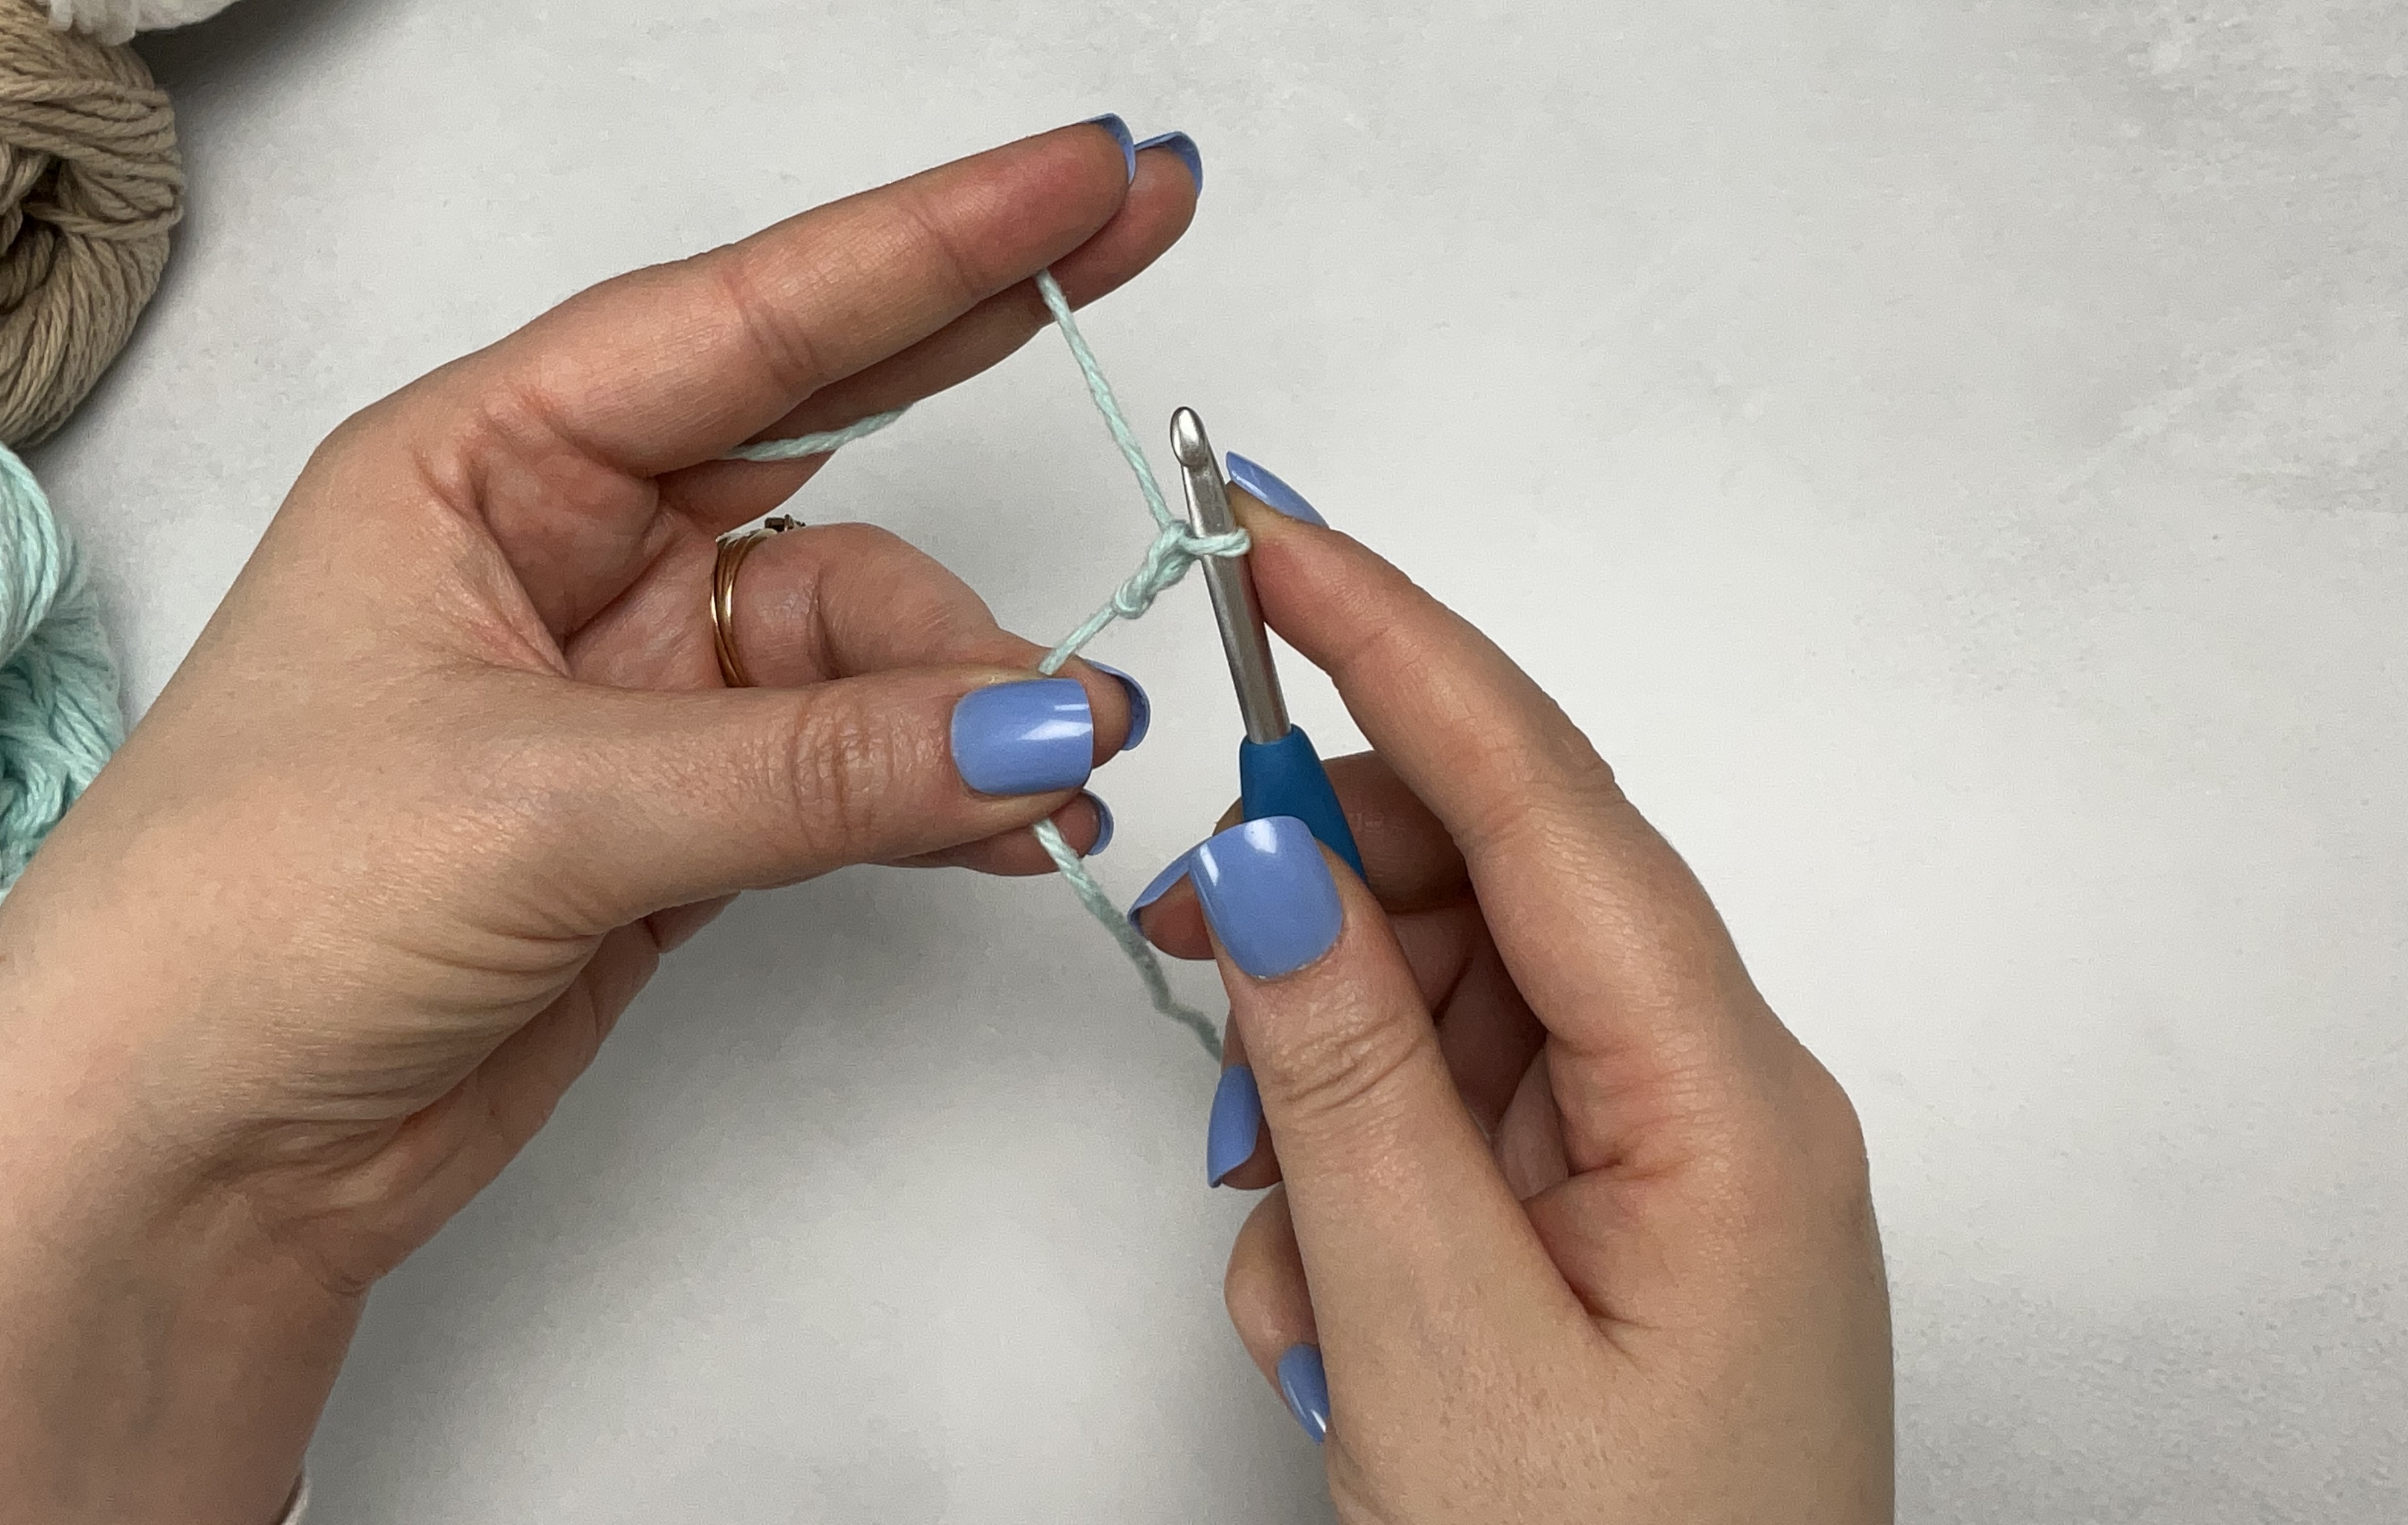
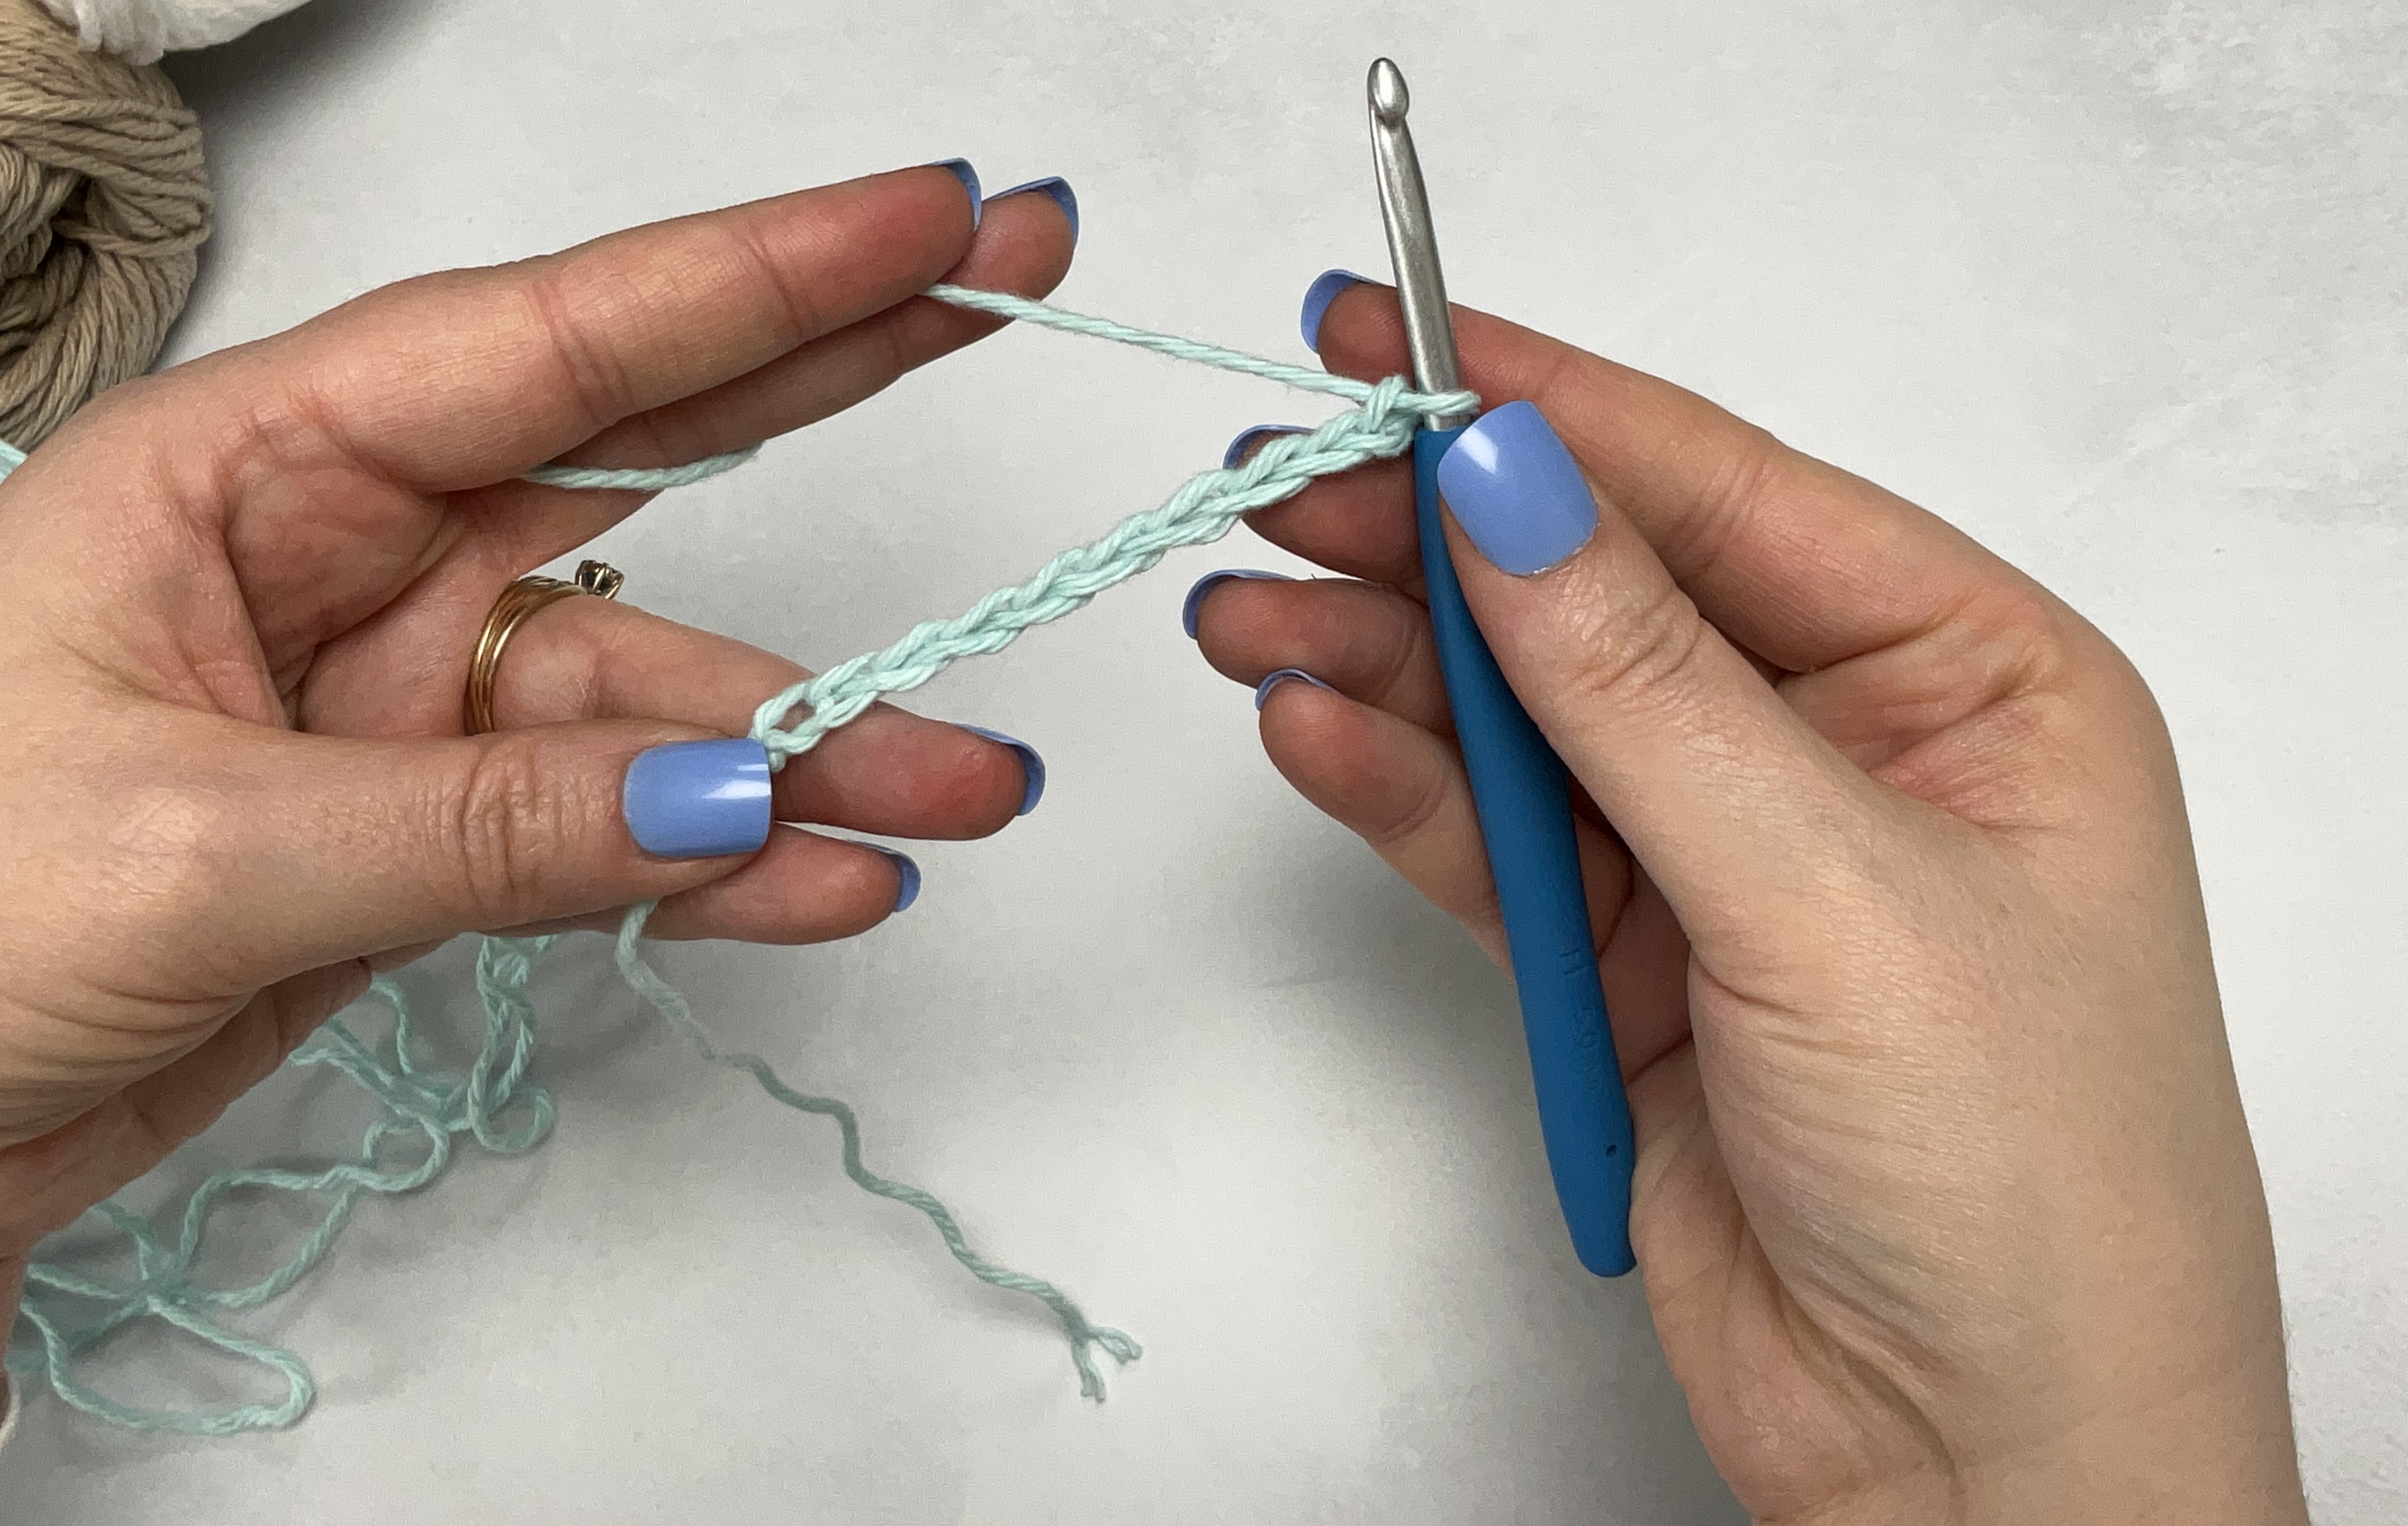
Wah-la! You've created your first chain! Repeat the process of yarn over and pull through loop to create a lengthy chain. Also, each time you pull through a chain loop, that equals 1 chain. So, if you pull through 10 times, you have 10 loops. (Can you count the 10 chains in the above photo?)
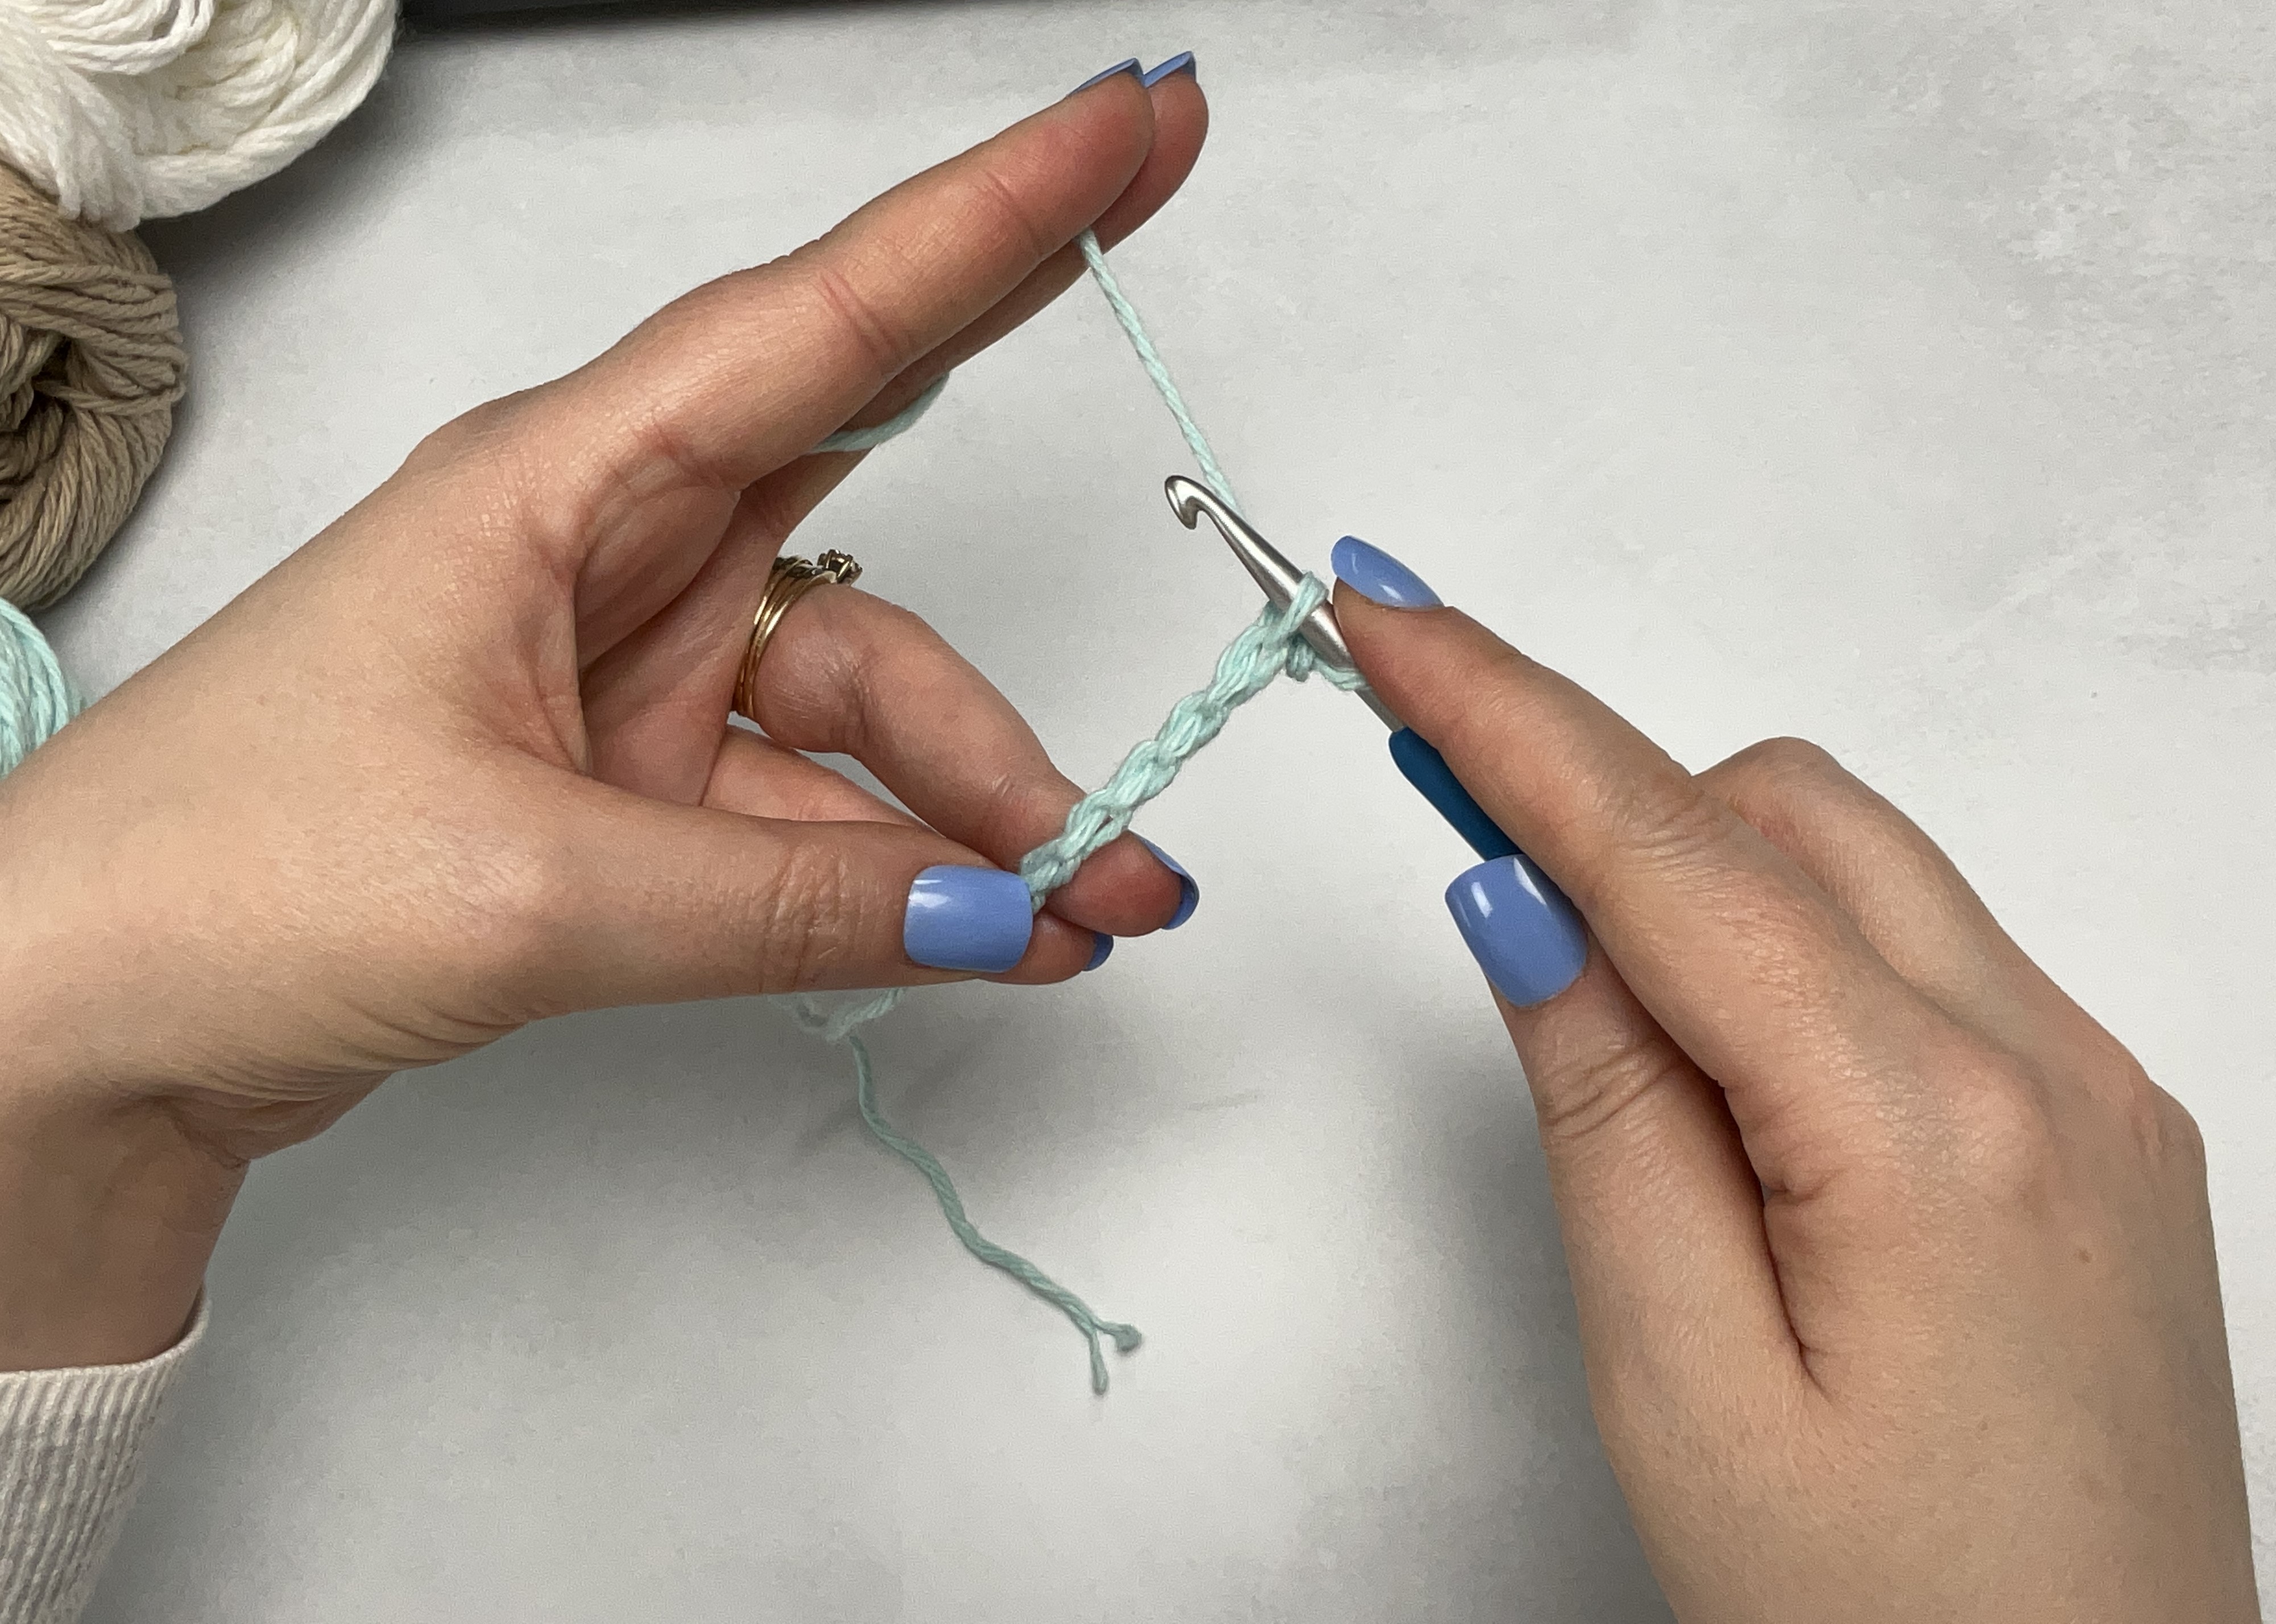
How to crochet in the chain
Look at the structure of the chain. It looks like a teardrop with a top and bottom loop. But look on the back and you'll see a ridge behind each chain. If you will work in this ridge, you'll starting row will work up so fast. I work in the ridge every single time.

Alrighty, Beginners, join me back here next week for the next step in Crochet 101!
Recent Posts
-
")
How to Loom Knit MR. GNOME: Free Pattern (with video tutorials)
Say hello to Mr. Gnome! He is so cute and super easy to make! This is a great project for beginners. …Jun 8th 2023 -

Learn to Loom Knit with a Circular Loom
Loom knitting is a different version of regular knitting that’s created on a pegged loom instead of …Jun 2nd 2023 -

Learn to Punch Needle
Have you ever been curious about punch needle crafts? I have been for a while, so I took some time t …May 26th 2023