![Crochet 101 [Part 3] How to Read a Crochet Pattern](https://cdn11.bigcommerce.com/s-ih46jrcxhu/images/stencil/1193x795/uploaded_images/learn-to-read-pattern.png?t=1678907618 "Crochet 101 [Part 3] How to Read a Crochet Pattern")
Crochet 101 [Part 3] How to Read a Crochet Pattern
Welcome back to Crochet 101! We have been learning how to crochet with Kristi Simpson and we're so glad you've joined us!
In Crochet 101 *PART 1* we learned the very basics of how to hold our hook, yarn, how to slip knot and single crochet.
In Crochet 101 *PART2* we learned the basic stitches: Single crochet, half double crochet and double crochet.
Now, in Crochet 101 *Part 3* we're going to learn about how to read a pattern. It sounds simple to some, but to others it sounds like a different language! It's not just about working the stitches, it's understanding everything such as Materials, gauge, notes and then the pattern! So, let's break it down. I want to walk you through some of the different sections of a pattern so you can learn how to read it properly.

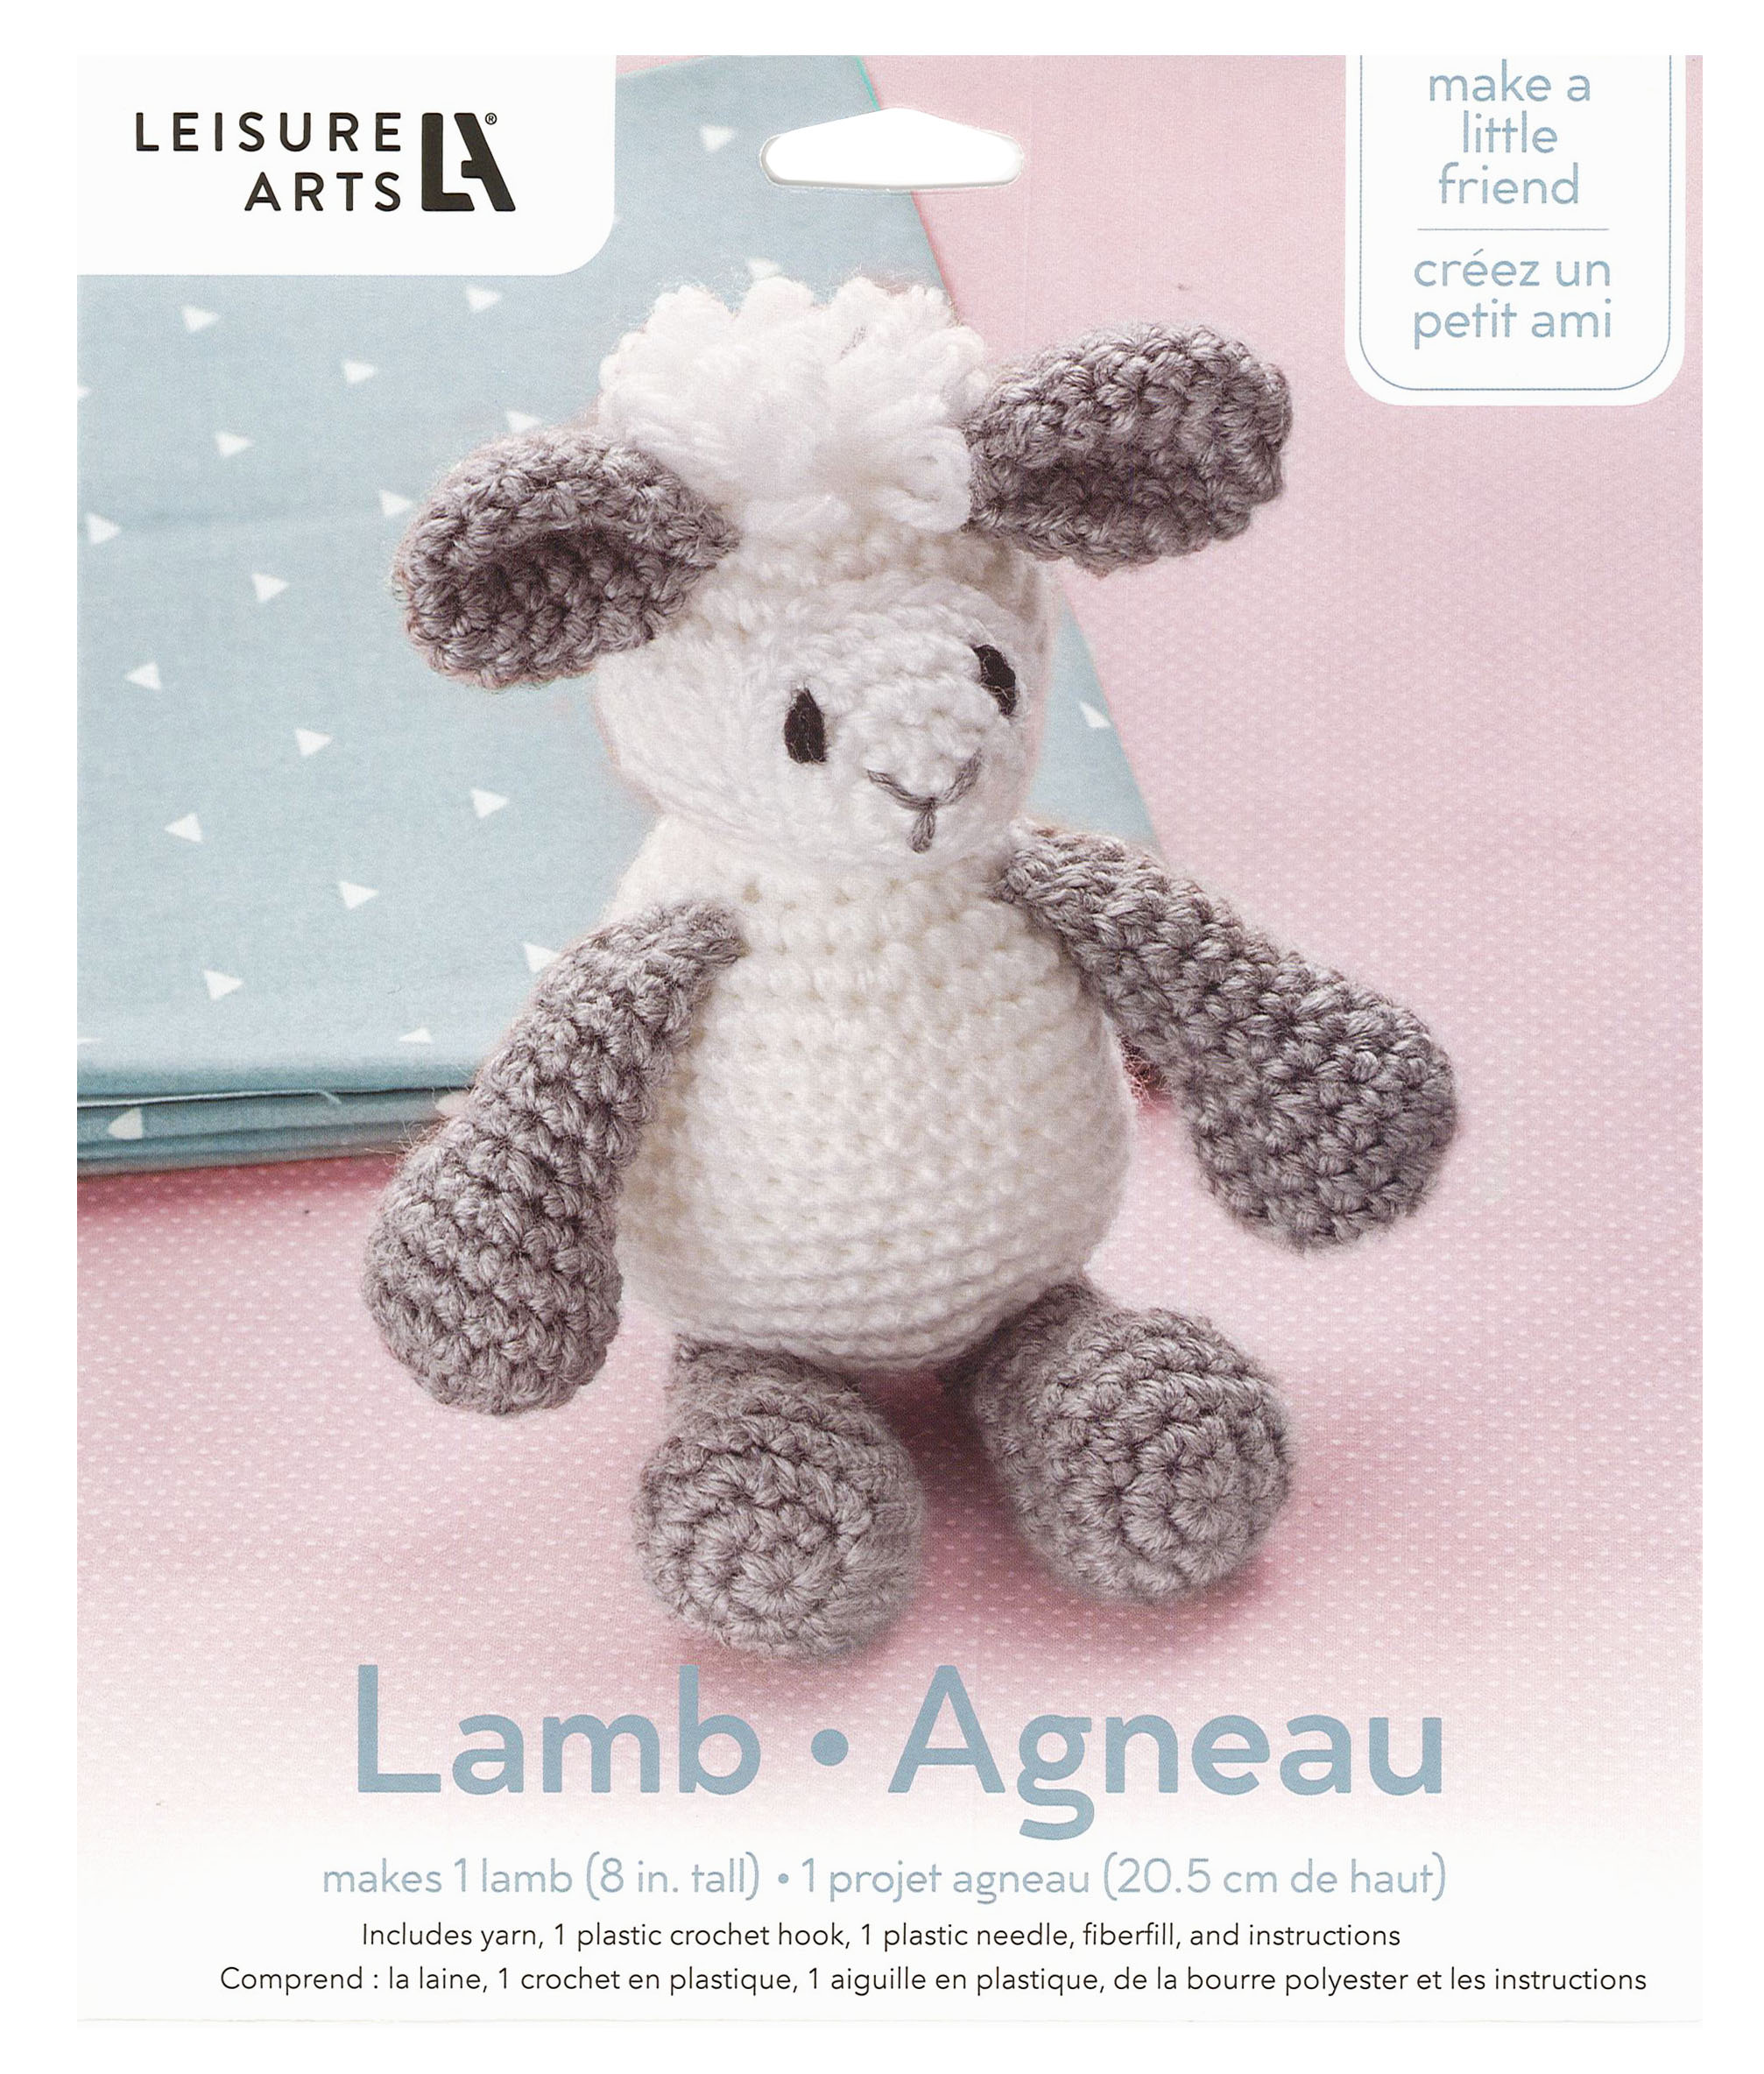
First, take a look at what you need. It may be listed as 'materials', 'supplies' or maybe even 'shopping list'. This will include yarn, hook and additional supplies. These are important because it's what you need to make the project, obviously; but it's often overlooked. Look at how many colors you need, how many skeins you need (and even at the yards/meters) to make sure you purchase enough to complete your project. Leisure Arts often have KITS that include everything you need, so no guessing there! For instance, look at this little Lamb KIT!

Next, look at GAUGE. Basically, this is the tension you need to have in the stitches to make sure your project turns out true to final measurements given in the pattern. In most Leisure Arts books, a swatch guide is given. For instance, if you crochet the swatch and you have MORE stitches than the gauge is listed - you are crocheting TOO TIGHT! You can a) loosen your stitches or b) incrase your hook size so that the stitches are naturally looser. If you have LESS stitches than the gauge listed - you are crocheting TOO LOOSE! You need to tighten your stitches so a) pull the stitches a bit tighter or b) use a smaller hook. When adjusting hook sizes to adjust gauge, try .5 changes at a time. For example if you're using a 5mm try a 4.5 or a 5.5 (depending on your gauge) to adjust. It will make a difference, trust me!
Gauge isn't as important in making things like scarves or blankets. However, when making items like clothing, boots, hats and things that need to fit, make sure you match the pattern gauge (not the gauge on yarn label). Often times the designer of the pattern will have a different gauge for the pattern so take a moment to crochet a swatch so you can measure and make sure your item will fit!
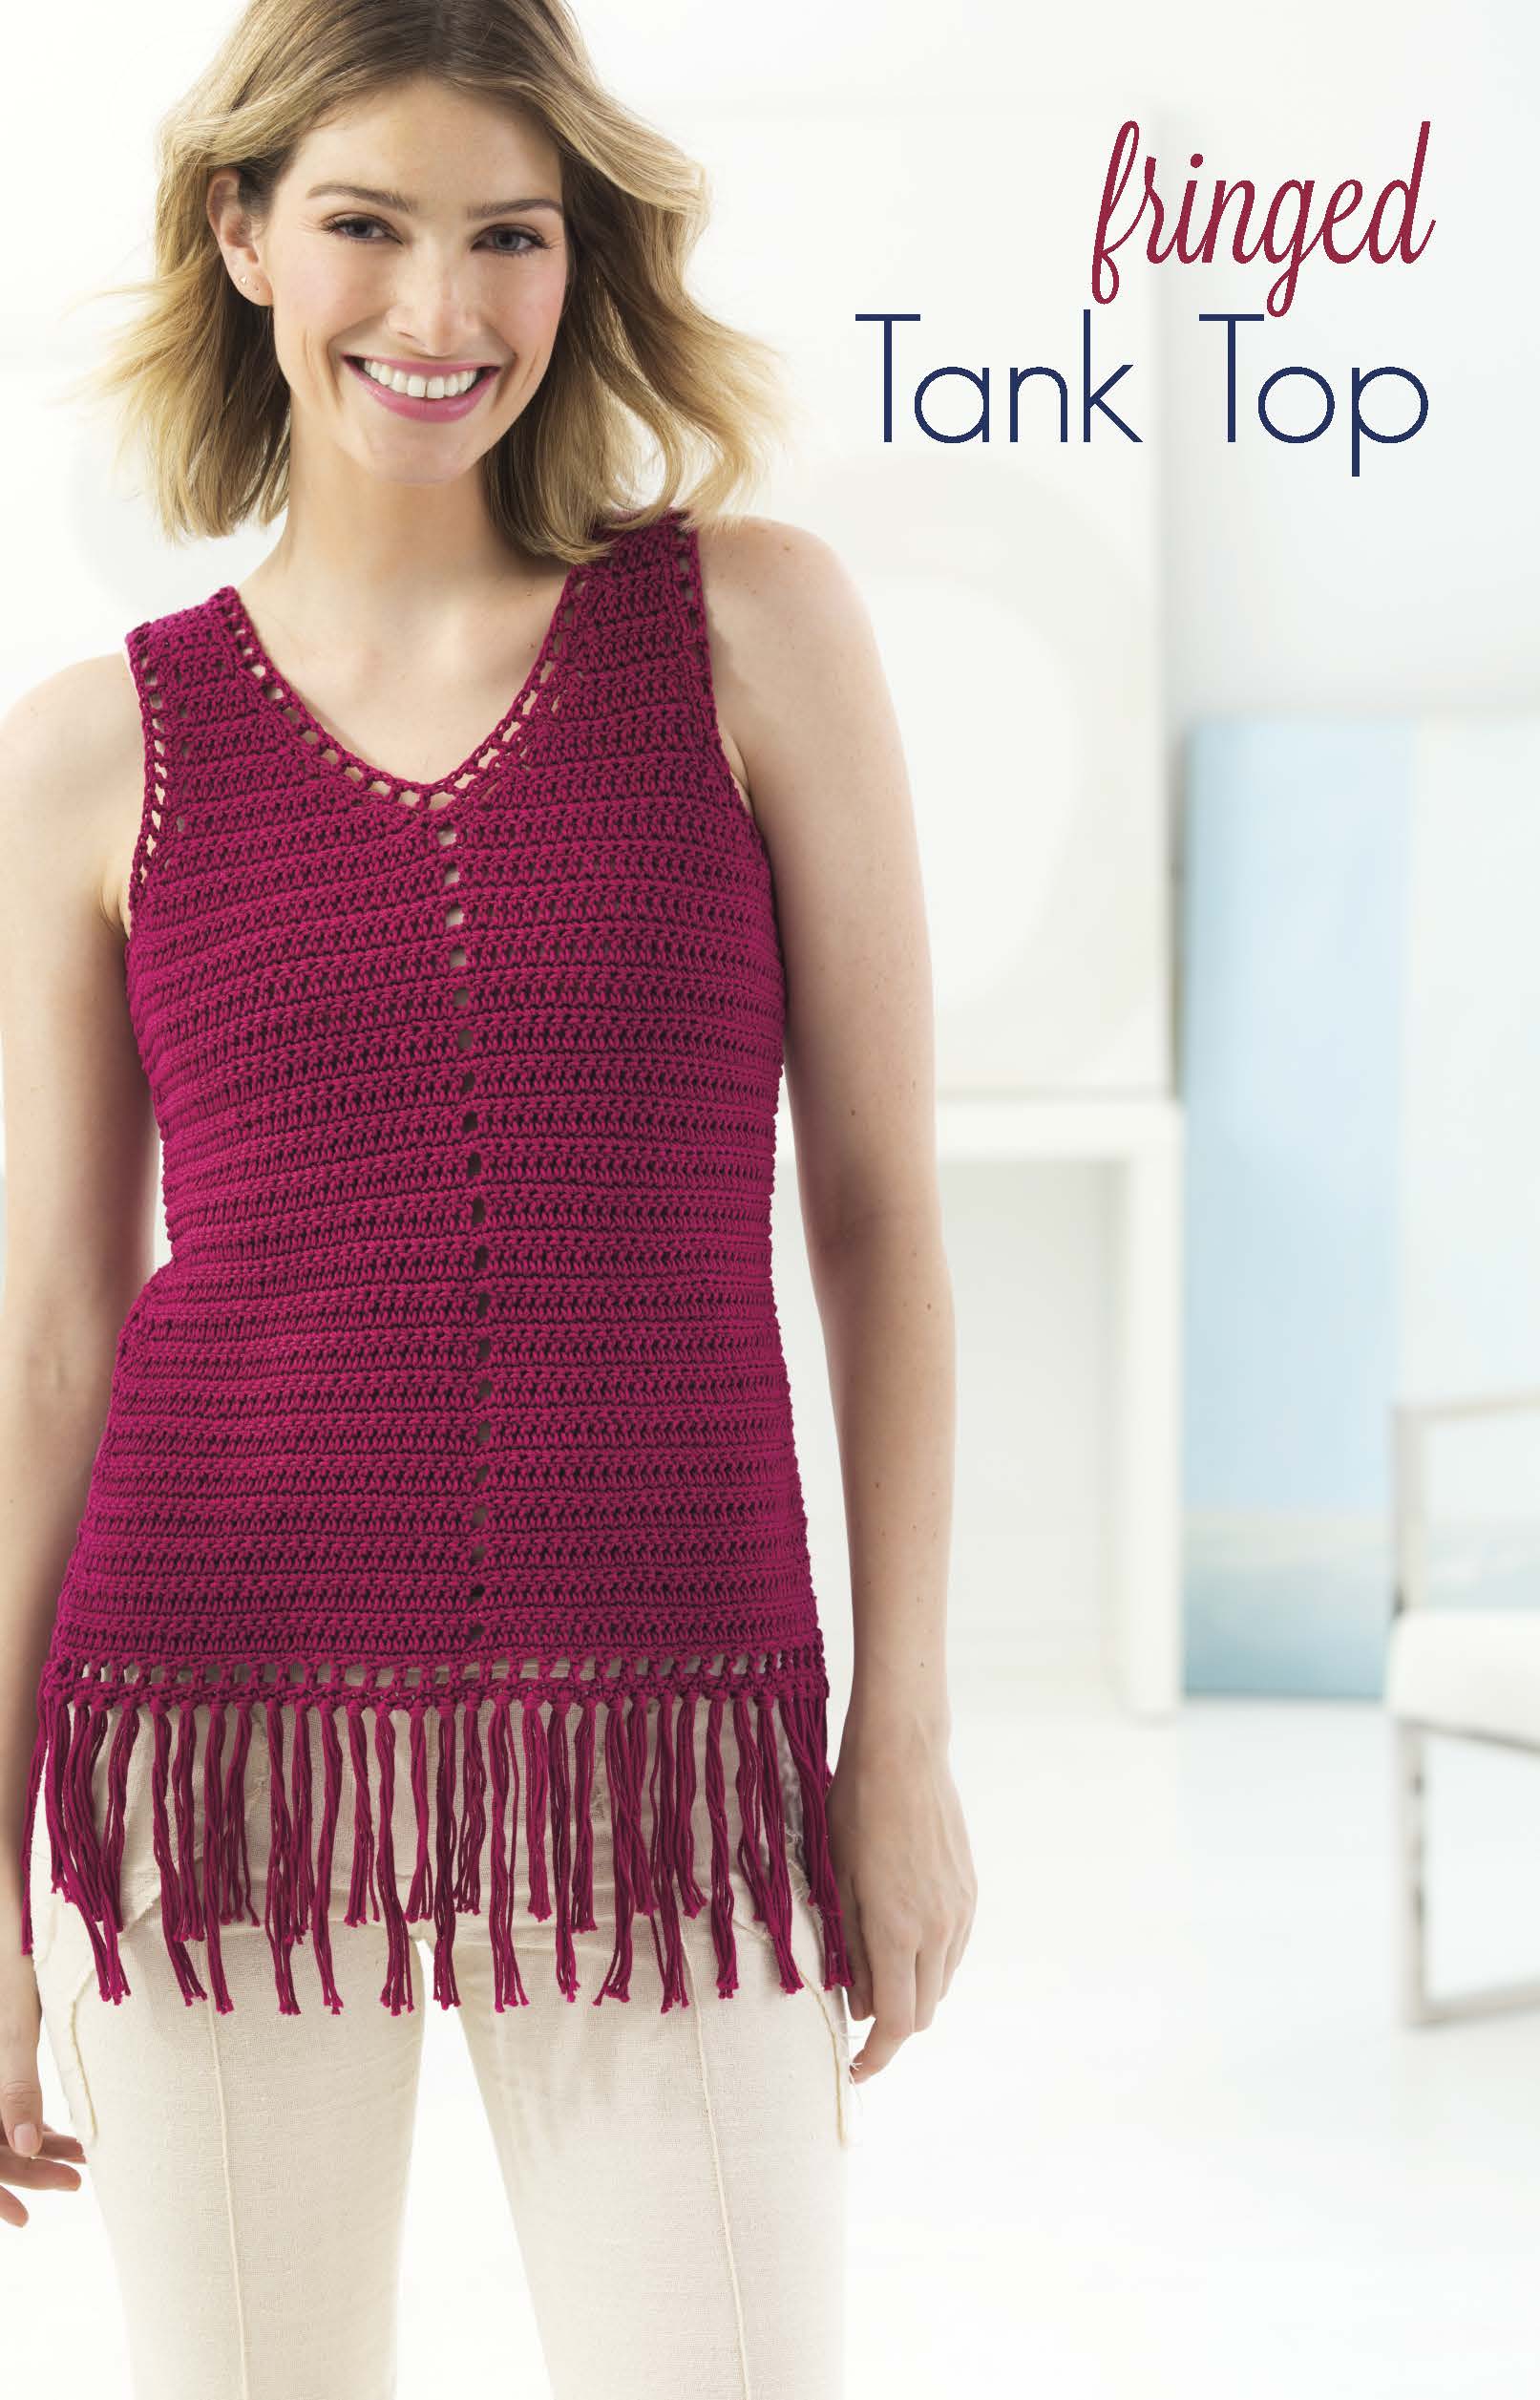
For instance, you'll need to check your gauge to crochet this Fringed Tank Top (found in Great Cotton Tops). You don't want it to be too small or too large. Just follow the instructions step by step! It uses basic stitches.

Next up, Stitch guide! These are the special stitches you need to know that are 'extra' within the pattern. The usual stitches, such as single crochet or double crochet, won't be listed here. It will be things like single crochet 2 stitches together (sc2tog), bobble, etc. It will tell you how to work these stitches so there's no question in the middle of the pattern. Refer to this list as many times as you need!
Now, the fun part! Reading the actual pattern!

To some, reading patterns is like a foreign language, but it's actually really simple! My biggest and most tried-and-true tip is to READ IT OUT LOUD. It will just make sense when you get it 'out of your head'.
Example 1:
Row 1: Sc in next 5 st, turn - 5 sc.
This means, you're going to single crochet in the next 5 sts and then turn and then the '-5' on the end tells you how many stitches are in that row.
Example 2:
Rnd 2: Ch 1, 2 sc in each st around, join with sl st to first st.
Read it out loud: In Round 2, you will chain 1, then work 2 single crochet stitches in each stitch around and then join with a slip stitch to the first st.
Example 3:
When working with * in a pattern, it's simple once you break it down!
Rnd 6: *Sc in next 5 sts, 2 sc in next st; rep from * around, join with a sl st to first st.
Read it out loud: Single crochet in the next 5 sts, 2 single crochet in next stitch. Then find your *. You'll repeat from that point so: Sc in next 5 sts and 2 single crochet in the next stitch over and over until you've completed your round. Then you'll join with a slip stitch (unless otherwise noted) to the first stitch of the round.
Example 4:
Now, when reading more advanced patterns you can get into using brackets and parentheses but to generically break that down, let's go through a basic flower pattern:
Ch 2.
Rnd 1: 6 sc in 2nd ch from hk, join with sl st to first st of rnd - 6 sc.
Here you'll begin with a chain 2 and then work 6 sc in the 2nd ch from the hook (which would be the first chain) and then join with a slip stitch to the first single crochet. You will have 6 single crochets.
Rnd 2: (Ch 1, 2 dc, ch 1, sl st) in each st around, join with a sl st to beg ch-1. Fasten off.
See the parentheses? You will repeat whatever is in the parentheses in the same stitch or space noted in the pattern. So, create the ch 1, 2 dc, ch 1 in the same space. Not so scary anymore, huh?
There are many details we could dive into, but those are the basics. It's perfect for getting started!
Now that you've learned the basics, you're ready to jump in and crochet!
Make sure you tag #leisurearts on all of your projects so we can see your progress!
Recent Posts
-
")
How to Loom Knit MR. GNOME: Free Pattern (with video tutorials)
Say hello to Mr. Gnome! He is so cute and super easy to make! This is a great project for beginners. …Jun 8th 2023 -

Learn to Loom Knit with a Circular Loom
Loom knitting is a different version of regular knitting that’s created on a pegged loom instead of …Jun 2nd 2023 -

Learn to Punch Needle
Have you ever been curious about punch needle crafts? I have been for a while, so I took some time t …May 26th 2023